3 Ideas for Hanging Shelves
Hanging shelves are one of the best ways to keep your home organized. They’re convenient and barely take up any space, which makes them ideal for storing the things that you always need nearby.
The best part about these shelves is that you can make them yourself because they have such a simple structure. Below, we’ll show you some ideas to help you learn how to make your own hanging shelves.
Additionally, as you create your own shelves, you’ll also be helping the environment by recycling.
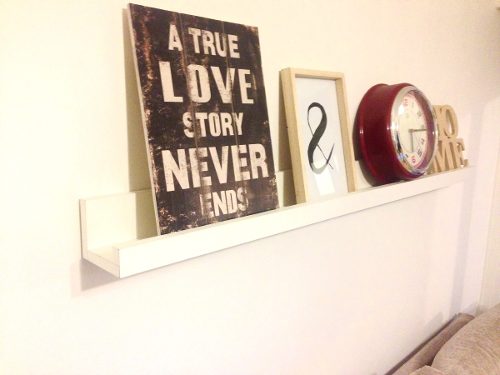
Shelf for pictures
These shelves don’t use up too much space and are a great place to showcase pictures. To make them, you just need to glue three boards together into a U-shape. Make sure the two boards that you use on the ends aren’t the same length or else you’ll risk covering up your picture.
For the easiest installation, the board that you’ll attach to the wall should be the longest piece that you use. The board on the other end, however, should only be a couple of centimeters tall, which will be just enough to keep the picture from sliding off the shelf and onto the floor.
As for which color you should paint your shelves, we recommend an earthy or pastel color. They’re very popular these days and work with any room. The color shouldn’t distract from the picture itself, which is what really matters. A shelf that draws too much attention will leave pictures unseen and forgotten.
You can also use these shelves for photographs or posters. They usually look fantastic in entrances or hallways. Both tend to be small, narrow areas that don’t offer much space for decor. However, these shelves provide a different way to hang pictures or family photos without using up space.
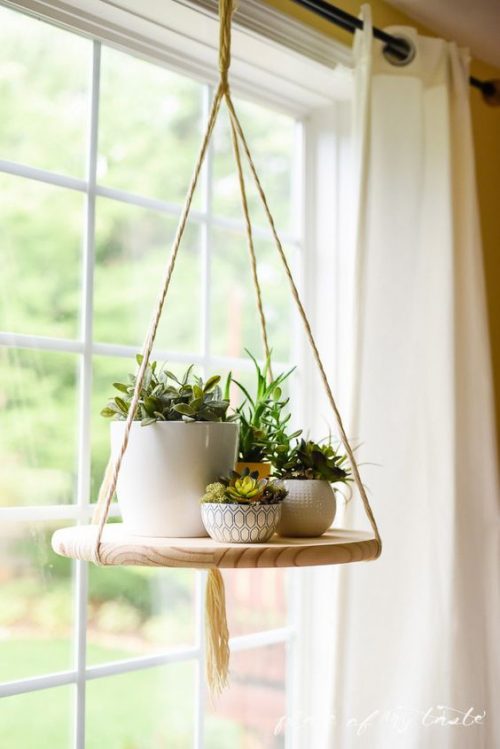
Wooden shelves with rope
Another way to create hanging shelves is by using boards and thick rope. The end results is a multiple-storied shelving unit that hangs from the ceiling. To make it, you’ll first need to look for the right spot because it’ll require a lot of space.
The best place for these shelves will probably be in a corner in your living room or bedroom. Remember that these shelves are going to hang from the ceiling, so they’re not going to be that stable. You shouldn’t store anything delicate on them and they’re not the best option if you have kids either as one sudden movement could bring the whole thing crashing down.
Follow these steps to make your own shelving unit with wooden boards and rope:
- Buy the boards that you’ll need to assemble however many shelves you want. Drill a hole in each corner of all the boards. Make sure to make the hole big enough for the rope to pass through. You can paint your boards or leave them as they are.
- Install two hooks in your ceiling; they should be big enough to support the weight of the boards.
- Feed the rope through the hooks and the holes of the boards. Every time you feed the rope through a board, tie a strong knot to keep the board in place.
- Now, cut off any remaining rope and tie your final knot.
Use boards of different sizes or a different kind of rope to create different combinations.
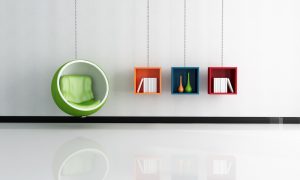
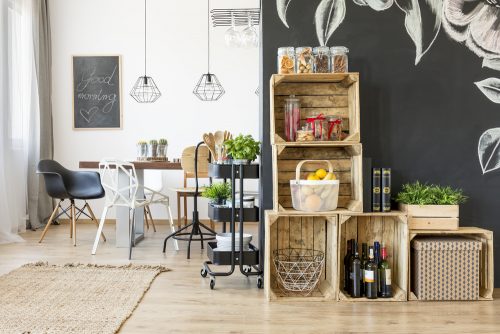
Shelves with boxes
Our last idea is the simplest. You just need some wooden boxes. You can ask your local grocer for some fruit crates or look around on the internet for second-hand items. You’ll have no problem finding them.
Once you have your wooden boxes, sand them and if you’d like, paint them. Giving them a coat of varnish will keep them from deteriorating over time.
Then, install some hooks onto a wall and create a geometric pattern with our boxes. That’s all you’ll need to do to create these simple hanging shelves.
Wooden boxes are trendy these days. Aside from bookcases, they’re also great for coffee tables or shelves. If you’re interested in this decor idea, we have some ideas for you to try out here.
Hanging shelves are one of the best ways to keep your home organized. They’re convenient and barely take up any space, which makes them ideal for storing the things that you always need nearby.
The best part about these shelves is that you can make them yourself because they have such a simple structure. Below, we’ll show you some ideas to help you learn how to make your own hanging shelves.
Additionally, as you create your own shelves, you’ll also be helping the environment by recycling.
Shelf for pictures
These shelves don’t use up too much space and are a great place to showcase pictures. To make them, you just need to glue three boards together into a U-shape. Make sure the two boards that you use on the ends aren’t the same length or else you’ll risk covering up your picture.
For the easiest installation, the board that you’ll attach to the wall should be the longest piece that you use. The board on the other end, however, should only be a couple of centimeters tall, which will be just enough to keep the picture from sliding off the shelf and onto the floor.
As for which color you should paint your shelves, we recommend an earthy or pastel color. They’re very popular these days and work with any room. The color shouldn’t distract from the picture itself, which is what really matters. A shelf that draws too much attention will leave pictures unseen and forgotten.
You can also use these shelves for photographs or posters. They usually look fantastic in entrances or hallways. Both tend to be small, narrow areas that don’t offer much space for decor. However, these shelves provide a different way to hang pictures or family photos without using up space.
Wooden shelves with rope
Another way to create hanging shelves is by using boards and thick rope. The end results is a multiple-storied shelving unit that hangs from the ceiling. To make it, you’ll first need to look for the right spot because it’ll require a lot of space.
The best place for these shelves will probably be in a corner in your living room or bedroom. Remember that these shelves are going to hang from the ceiling, so they’re not going to be that stable. You shouldn’t store anything delicate on them and they’re not the best option if you have kids either as one sudden movement could bring the whole thing crashing down.
Follow these steps to make your own shelving unit with wooden boards and rope:
- Buy the boards that you’ll need to assemble however many shelves you want. Drill a hole in each corner of all the boards. Make sure to make the hole big enough for the rope to pass through. You can paint your boards or leave them as they are.
- Install two hooks in your ceiling; they should be big enough to support the weight of the boards.
- Feed the rope through the hooks and the holes of the boards. Every time you feed the rope through a board, tie a strong knot to keep the board in place.
- Now, cut off any remaining rope and tie your final knot.
Use boards of different sizes or a different kind of rope to create different combinations.
Shelves with boxes
Our last idea is the simplest. You just need some wooden boxes. You can ask your local grocer for some fruit crates or look around on the internet for second-hand items. You’ll have no problem finding them.
Once you have your wooden boxes, sand them and if you’d like, paint them. Giving them a coat of varnish will keep them from deteriorating over time.
Then, install some hooks onto a wall and create a geometric pattern with our boxes. That’s all you’ll need to do to create these simple hanging shelves.
Wooden boxes are trendy these days. Aside from bookcases, they’re also great for coffee tables or shelves. If you’re interested in this decor idea, we have some ideas for you to try out here.


