5 Steps for Creating a Gravel Path for Your Garden

If you’re thinking about making a gravel path for your garden, you’ll find everything you need to know in the following article. It’s actually really simple, and you don’t need expert knowledge, or a huge amount of tools. As you will see, all you need to do is buy some low-cost materials, and follow a few simple steps.
Take a look, and discover how to give your garden a mini makeover with a beautiful gravel path.
1. Plan your gravel path
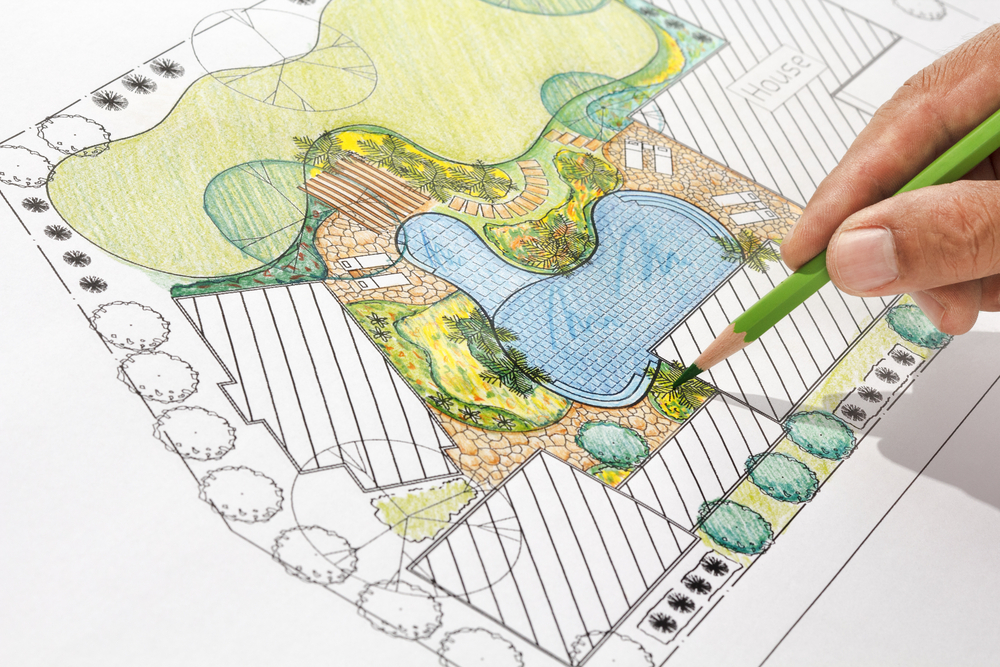
To create a gravel path for your garden, the first thing you need to decide is the route you want it to take. We would recommend sketching out a plan of your garden, and mark out where you want your path to go.
You’ll also need to decide how wide you want your path to be. This will vary depending on the size of your garden, but you’ll need to make sure it’s wide enough to walk down comfortably.

You don’t need to do a super detailed plan; it’s simply to help you have a clear picture of what you want your garden to look like before you start working on your path.
2. Choose the gravel
Once you’ve planned out the route you want your path to take, you should have a rough idea of how much gravel you’re going to need. Now all you have to do is choose the right type. You can find a huge variety of gravels in all different sizes and colors in any good decorating or home store.
Which one you choose will depend on your personal taste, although store assistants will be able to give you some advice to help you decide. In general, gravel isn’t very expensive, so you’ll be able to make a great garden path without breaking the bank.
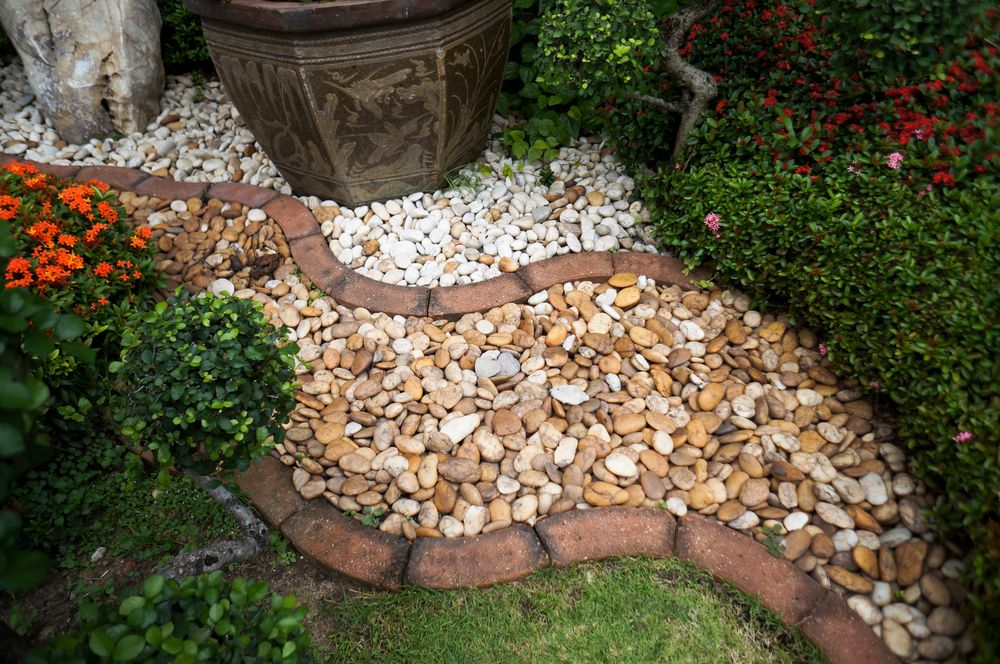
If you want to make several paths, you could combine different colors. These designs are really popular in Feng Shui gardens, and the results can be simply spectacular.
3. Dig out your path
Once you’ve chosen the gravel, it’s time for the real work to begin. Mark out your path with spray paints. You’ll need to dig down approximately 2 inches, so that once you’ve added the gravel, it’ll be roughly the same level as the rest of your garden. However, the depth you need will vary depending on the type of gravel, and how much you want to use.

4. Add protective netting
Grass tends to grow back fairly quickly after you’ve dug out your path. Very soon, the grass will start to grow up through the gravel, which could spoil the overall look. The only solution would then be to dig up all the gravel – letting all your hard work go to waste – or to regularly treat your path with sulphate.
So, to save you from all this extra work, we would recommend adding protective netting to stop the grass from growing back. They are available for a huge range of prices, and they’re really easy to install. Laying this kind of netting between the soil and the gravel will allow you to enjoy your gravel path for years to come, and keep it looking good as new.
5. Fill in your path
Now you can get down to filling in your gravel path. First, sprinkle a fine layer of gravel over the entire surface of your path, paying particular attention to the corners. Gradually add the rest of the gravel until you get the result you want.
If you’re going to use your path regularly, you could add some wooden borders to prevent the gravel from moving too much. If your path is deep enough, this shouldn’t be an issue, as it won’t be able to go too far. However, if you have children or pets running around, that’s a whole different story…

Wooden borders can also be really useful if you want to use several different types of gravel. They will prevent the stones from mixing together, so you can create some really beautiful designs.
Follow these 5 steps, and you’ll have a beautiful gravel path for your garden. If you want to give your garden a makeover without spending too much money, this is a great idea to keep in mind.
As you can see, anyone can make their own gravel path. All you need to do is buy the right materials, and follow these simple steps. There are infinite options, so let your creative juices flow, and brighten up your garden with a beautiful gravel path.
If you’re thinking about making a gravel path for your garden, you’ll find everything you need to know in the following article. It’s actually really simple, and you don’t need expert knowledge, or a huge amount of tools. As you will see, all you need to do is buy some low-cost materials, and follow a few simple steps.
Take a look, and discover how to give your garden a mini makeover with a beautiful gravel path.
1. Plan your gravel path
To create a gravel path for your garden, the first thing you need to decide is the route you want it to take. We would recommend sketching out a plan of your garden, and mark out where you want your path to go.
You’ll also need to decide how wide you want your path to be. This will vary depending on the size of your garden, but you’ll need to make sure it’s wide enough to walk down comfortably.

You don’t need to do a super detailed plan; it’s simply to help you have a clear picture of what you want your garden to look like before you start working on your path.
2. Choose the gravel
Once you’ve planned out the route you want your path to take, you should have a rough idea of how much gravel you’re going to need. Now all you have to do is choose the right type. You can find a huge variety of gravels in all different sizes and colors in any good decorating or home store.
Which one you choose will depend on your personal taste, although store assistants will be able to give you some advice to help you decide. In general, gravel isn’t very expensive, so you’ll be able to make a great garden path without breaking the bank.
If you want to make several paths, you could combine different colors. These designs are really popular in Feng Shui gardens, and the results can be simply spectacular.
3. Dig out your path
Once you’ve chosen the gravel, it’s time for the real work to begin. Mark out your path with spray paints. You’ll need to dig down approximately 2 inches, so that once you’ve added the gravel, it’ll be roughly the same level as the rest of your garden. However, the depth you need will vary depending on the type of gravel, and how much you want to use.

4. Add protective netting
Grass tends to grow back fairly quickly after you’ve dug out your path. Very soon, the grass will start to grow up through the gravel, which could spoil the overall look. The only solution would then be to dig up all the gravel – letting all your hard work go to waste – or to regularly treat your path with sulphate.
So, to save you from all this extra work, we would recommend adding protective netting to stop the grass from growing back. They are available for a huge range of prices, and they’re really easy to install. Laying this kind of netting between the soil and the gravel will allow you to enjoy your gravel path for years to come, and keep it looking good as new.
5. Fill in your path
Now you can get down to filling in your gravel path. First, sprinkle a fine layer of gravel over the entire surface of your path, paying particular attention to the corners. Gradually add the rest of the gravel until you get the result you want.
If you’re going to use your path regularly, you could add some wooden borders to prevent the gravel from moving too much. If your path is deep enough, this shouldn’t be an issue, as it won’t be able to go too far. However, if you have children or pets running around, that’s a whole different story…

Wooden borders can also be really useful if you want to use several different types of gravel. They will prevent the stones from mixing together, so you can create some really beautiful designs.
Follow these 5 steps, and you’ll have a beautiful gravel path for your garden. If you want to give your garden a makeover without spending too much money, this is a great idea to keep in mind.
As you can see, anyone can make their own gravel path. All you need to do is buy the right materials, and follow these simple steps. There are infinite options, so let your creative juices flow, and brighten up your garden with a beautiful gravel path.


