Upholster Old Armchairs
Upholstery is a technique that makes any armchair look brand new and original again. People commonly take valuable furniture pieces that have a special economic or sentimental value to professional upholsters. But while upholstering is by no means a simple task, you can do it yourself with a little practice.
Aside from being a great way to renew your chairs or armchairs, it’s a way to exercise your creativity and enjoy the results. If you don’t consider yourself crafty, have a piece that you don’t know how to save or simply just want to switch up your armchairs, keep reading to find out how.
Removing the old fabric from your chair
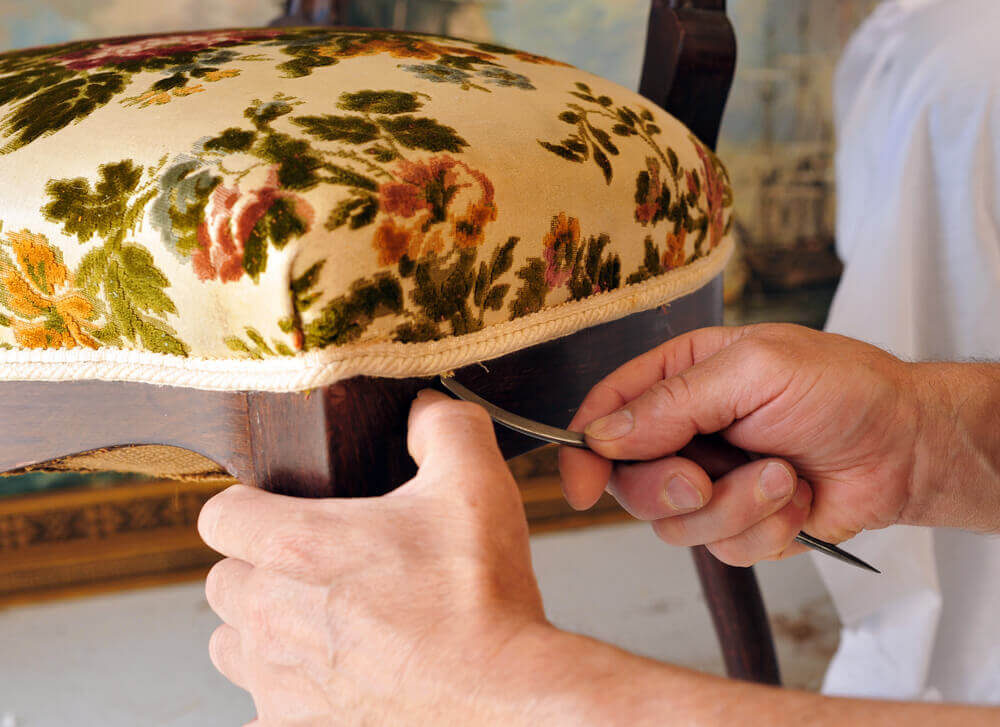
The first step will take the most time and effort. You first need to carefully remove the old upholster from your chair and remove all the staples that kept it fixed as well.
This is a delicate process – you need to be careful not to rip the fabric too much as you’ll need it to draw out the pattern for your new upholstery.
Remember to keep a note of the order in which you removed the old fabric pieces from your chairs. By keeping track, you can reupholster the pieces in an organized manner.
As you carefully remove the fabric, you’ll find that you won’t be able to remove certain pieces until another has been taken off. And that’s exactly why you have to keep track of the order to avoid future assembly problems.
More often than not, the fabric pieces that cover a chair are: the armrest, exterior and interior side, exterior and interior back, bottom and seat cushion sections.
The sections are also in the correct removal order. When you reupholster, follow the same order in reverse. Once you remove all traces of the old fabric, be sure to take out all of the staples from your chair.
Stripping the wood of an armchair
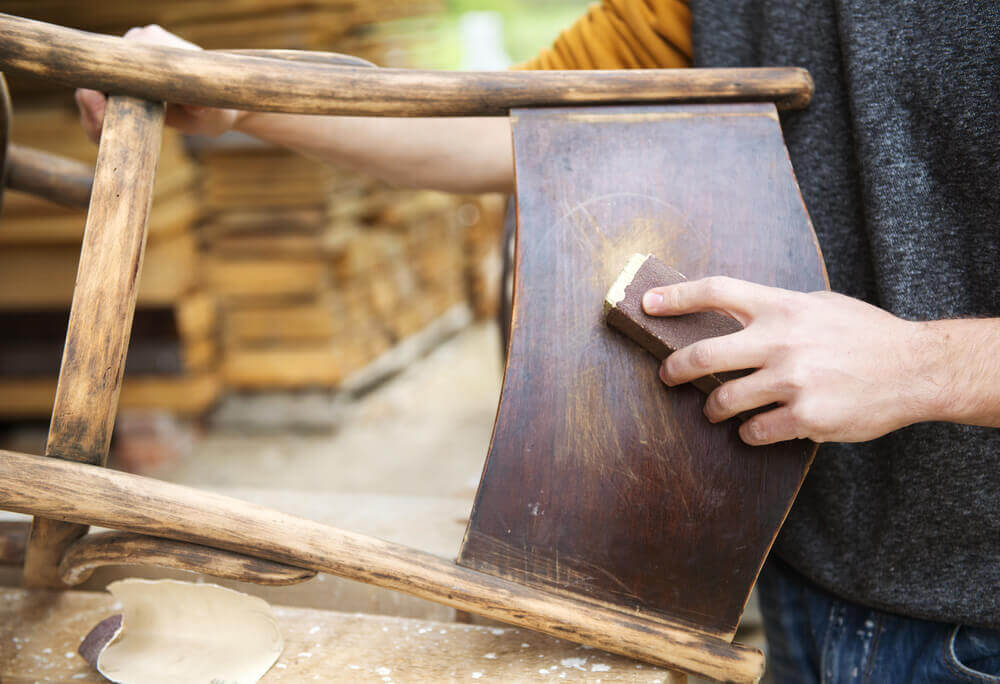
Stripping the wood is the second step. However, make sure that your pieces don’t have a layer of natural patina.
You wouldn’t want to lose value on a 1,000-euro piece. Recognizing a true antique piece isn’t always easy.
However, the biggest clue indicating an antique lies in patina. If you see that it’s not merely a patina finish, you probably have an antique piece on your hands. And if that’s the case, we recommend leaving it as is. But more often than not, people aren’t lucky enough to stumble upon antique pieces.
Going back to the first step, strip the wood. To get started, first clean every inch of the surface carefully. After, sand everything down. If you want to skip this step, feel free to give your wood a layer of chalk paint instead.
Now, it’s time to apply a coat in the color of your choice. Carefully paint the wood. Make sure to let the first coat dry before applying the second.
Two coats are usually enough but if you think you need another, feel free to give your armchair a third. You may need a third coat if your chair had a stain that made it difficult for your paint color to shine through. Once dry, sand the edges gently to create an aged effect.
Cut out your fabric sections

Some people prefer using the old pieces of fabric as guides to cut out the new ones. But we recommend placing them on top of pattern paper to create templates for your new sections.
Carefully fasten the templates to the new fabric with pins. Cut out the sections, leaving a two-centimeter wide margin.
Make sure to be extra careful with striped, plaid or other fabrics that need to be lined up perfectly. The back of your chair and your seat should line up accordingly with vertical lines.
You also need to match the interior and exterior lines together if you plan on using the same fabric for both sections. Make sure you make a note of which piece goes on which part of your chair.
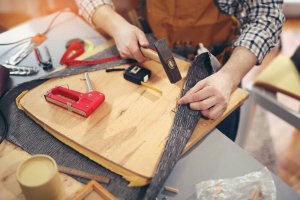
Upholstering an armchair
Start upholstering by covering the parts that originally had a cushion with wadding. To reinforce those areas, you only need to staple on new wadding to the old, worn down wadding. Then, start with the new section to replace the last piece of fabric that you remove from the armchair. More often than not, it’s the seat of the chair.
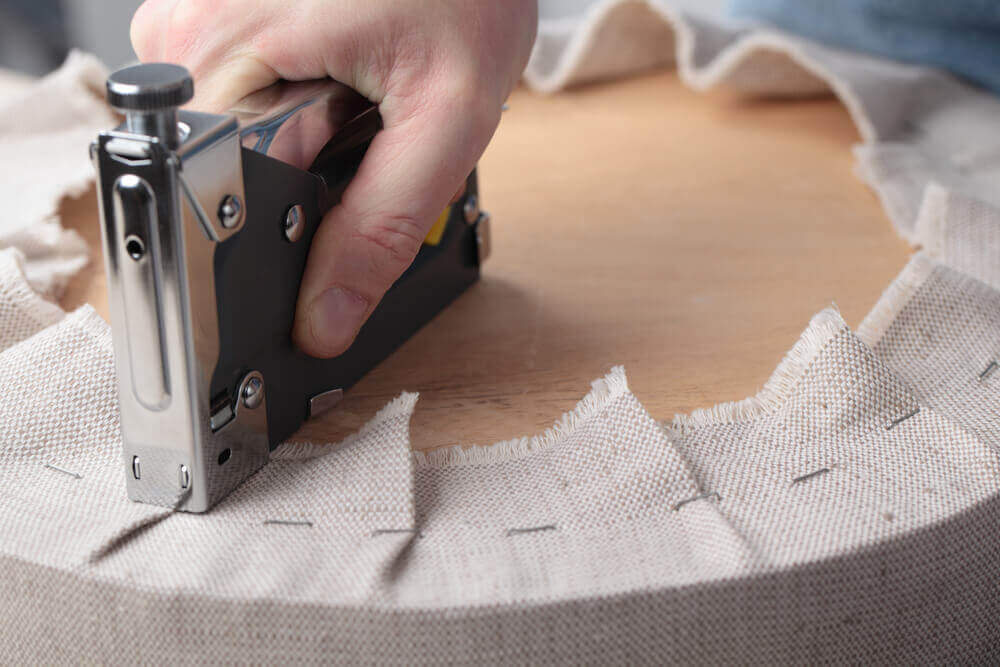
Start stapling on the new fabric in the middle on both sides, making sure it’s nice and tense. Next, carefully staple on the fabric making your way to the ends of the chair. Continue the process for all the sections of the new fabric.
Once all your pieces are in place, look for any areas with excess fabric. Cut off any pieces that hang down with scissors.
Now, use trimming tape to cover the staples. All that’s left to upholster is the seat cushion, which is separate from the armchair itself, and you can finally enjoy your new armchair!
Upholstery is a technique that makes any armchair look brand new and original again. People commonly take valuable furniture pieces that have a special economic or sentimental value to professional upholsters. But while upholstering is by no means a simple task, you can do it yourself with a little practice.
Aside from being a great way to renew your chairs or armchairs, it’s a way to exercise your creativity and enjoy the results. If you don’t consider yourself crafty, have a piece that you don’t know how to save or simply just want to switch up your armchairs, keep reading to find out how.
Removing the old fabric from your chair
The first step will take the most time and effort. You first need to carefully remove the old upholster from your chair and remove all the staples that kept it fixed as well.
This is a delicate process – you need to be careful not to rip the fabric too much as you’ll need it to draw out the pattern for your new upholstery.
Remember to keep a note of the order in which you removed the old fabric pieces from your chairs. By keeping track, you can reupholster the pieces in an organized manner.
As you carefully remove the fabric, you’ll find that you won’t be able to remove certain pieces until another has been taken off. And that’s exactly why you have to keep track of the order to avoid future assembly problems.
More often than not, the fabric pieces that cover a chair are: the armrest, exterior and interior side, exterior and interior back, bottom and seat cushion sections.
The sections are also in the correct removal order. When you reupholster, follow the same order in reverse. Once you remove all traces of the old fabric, be sure to take out all of the staples from your chair.
Stripping the wood of an armchair
Stripping the wood is the second step. However, make sure that your pieces don’t have a layer of natural patina.
You wouldn’t want to lose value on a 1,000-euro piece. Recognizing a true antique piece isn’t always easy.
However, the biggest clue indicating an antique lies in patina. If you see that it’s not merely a patina finish, you probably have an antique piece on your hands. And if that’s the case, we recommend leaving it as is. But more often than not, people aren’t lucky enough to stumble upon antique pieces.
Going back to the first step, strip the wood. To get started, first clean every inch of the surface carefully. After, sand everything down. If you want to skip this step, feel free to give your wood a layer of chalk paint instead.
Now, it’s time to apply a coat in the color of your choice. Carefully paint the wood. Make sure to let the first coat dry before applying the second.
Two coats are usually enough but if you think you need another, feel free to give your armchair a third. You may need a third coat if your chair had a stain that made it difficult for your paint color to shine through. Once dry, sand the edges gently to create an aged effect.
Cut out your fabric sections
Some people prefer using the old pieces of fabric as guides to cut out the new ones. But we recommend placing them on top of pattern paper to create templates for your new sections.
Carefully fasten the templates to the new fabric with pins. Cut out the sections, leaving a two-centimeter wide margin.
Make sure to be extra careful with striped, plaid or other fabrics that need to be lined up perfectly. The back of your chair and your seat should line up accordingly with vertical lines.
You also need to match the interior and exterior lines together if you plan on using the same fabric for both sections. Make sure you make a note of which piece goes on which part of your chair.
Upholstering an armchair
Start upholstering by covering the parts that originally had a cushion with wadding. To reinforce those areas, you only need to staple on new wadding to the old, worn down wadding. Then, start with the new section to replace the last piece of fabric that you remove from the armchair. More often than not, it’s the seat of the chair.
Start stapling on the new fabric in the middle on both sides, making sure it’s nice and tense. Next, carefully staple on the fabric making your way to the ends of the chair. Continue the process for all the sections of the new fabric.
Once all your pieces are in place, look for any areas with excess fabric. Cut off any pieces that hang down with scissors.
Now, use trimming tape to cover the staples. All that’s left to upholster is the seat cushion, which is separate from the armchair itself, and you can finally enjoy your new armchair!


