How to Make a Bar Cart
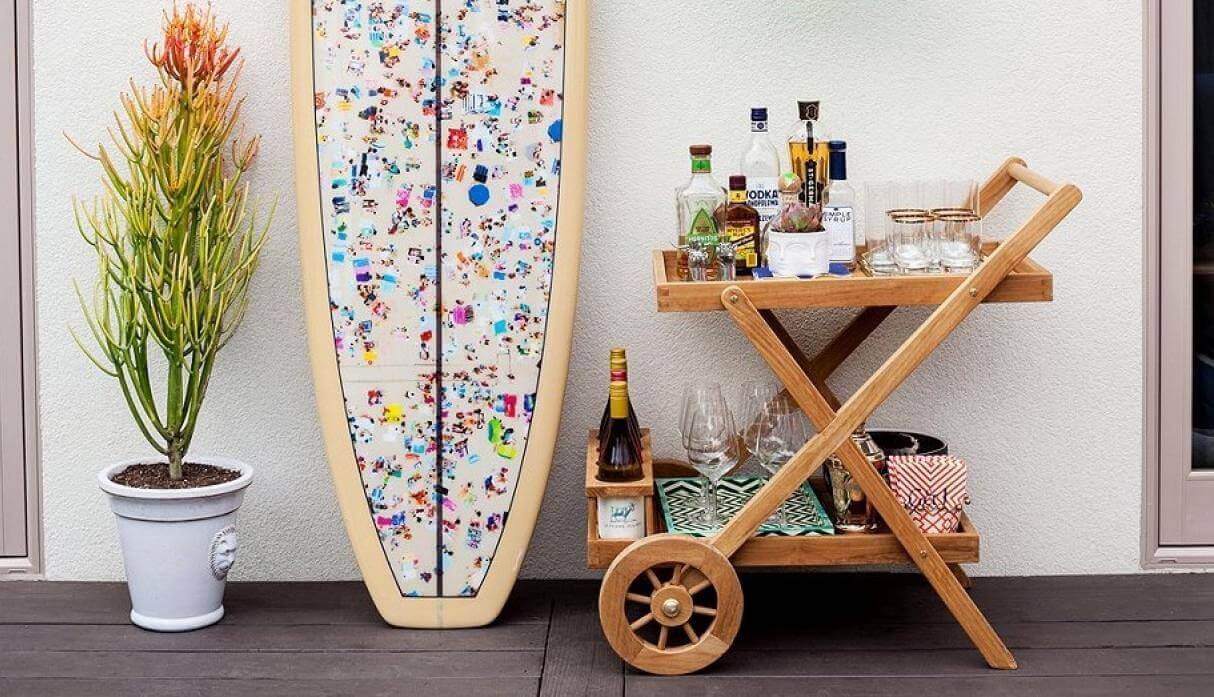
DIY is in and it’s also making waves in decor. Creating unique and personalized pieces can be a great way to fill up an empty space in a room. In our post today, we want to show you how to make your own bar cart.
By making your own bar cart, you can enjoy a result that’s both functional and aesthetic. Keep reading to learn how to create this piece of furniture with your own hands.
Making your own bar cart is a perfect idea
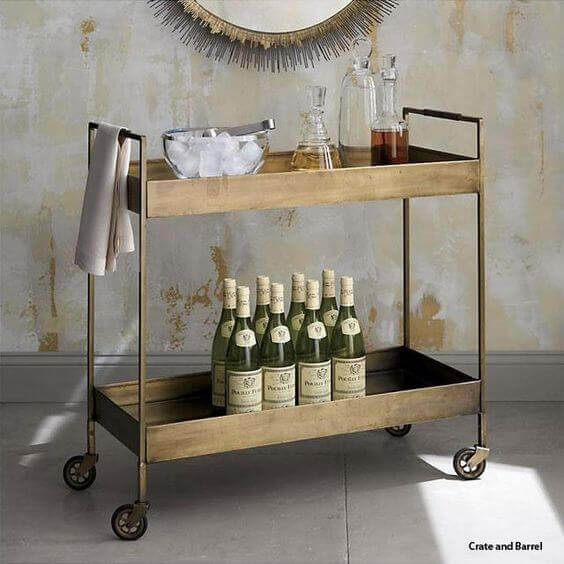
You can make all kinds of furniture and simple decor elements. Vases or basic tables are common DIY projects but if you compare them to bar carts, they’re not very practical.
Bar carts, on the other hand, can be the perfect two-birds-in-one-stone idea: it’ll solve your space problem, give you a personalized piece of furniture, have minimal costs and decorate an empty space.
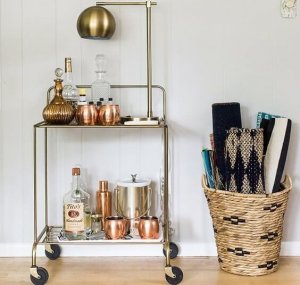
You can use a bar cart for many things. First, you can use it to serve and store glasses and bottles in addition to moving things closer to your diners.
Or, you can use it as an extra storage compartment for silverware or dining table accessories, like napkins. The wheels make these carts very versatile and practical for all kinds of everyday uses.
Recycling old furniture
You can make a bar cart by reusing an old piece of furniture. Make sure that the piece you want to use has the right features for converting it into a bar cart.
First, it’s fundamental that the piece you want to use has an appropriate weight because you’ll need to move it on wheels. You should also make sure that it doesn’t have a shape that limits access nor corners that could jut out when you’re moving it
Once you have the right piece, start by tiding up and personalizing it. You could use colorful paint, a varnish that works with the material or decorative accessories of your choice.
In this step, make sure that the structure stays sound. Protect the paint as well.
Before you add on the rest of the parts of the cart, leave it to dry completely. If you’re not sure how much time it needs, don’t be afraid to do the process in steps over a course of days to make sure that the glue, paint, and varnish are completely dry.
You won’t have any problems finding wheels because they’re sold at any home improvement or accessory store.
The easiest way to attach the wheels is by flipping your piece over first. Try laying out a rag or pillow in the floor before you flip it over to protect the structure. When flipped over, attach the wheels to the legs or corners.
Other types of carts

Another way to make your DIY bar cart is by using a different kind of cart as the base and transforming it. This option is much simpler and would save you the step of attaching the wheels. Not to mention, you wouldn’t have to look for wheels in the right size and style either.
A great cart that could work for this project is a fruit cart or your average grocery cart.
Transforming a cart offers all kinds of design possibilities. You’re free to change the color as well as to add accessories on top of the base frame.
If you want something a little different, a great idea is attaching a wooden board on one of the ends to cover the grid. The wood will create a different, more original look by mixing textures and materials.
You should also think about the base materials and its features if you decide to make a bar cart from a pre-existing cart. If your cart is metal and is rusty in some areas, look for the products you need to treat it before transforming it.
If you want to change the colors, look for the best paints for the job. The staff at specialized craft stores will know what you need. With their professional help and a little imagination, you can create something really special.
DIY is in and it’s also making waves in decor. Creating unique and personalized pieces can be a great way to fill up an empty space in a room. In our post today, we want to show you how to make your own bar cart.
By making your own bar cart, you can enjoy a result that’s both functional and aesthetic. Keep reading to learn how to create this piece of furniture with your own hands.
Making your own bar cart is a perfect idea
You can make all kinds of furniture and simple decor elements. Vases or basic tables are common DIY projects but if you compare them to bar carts, they’re not very practical.
Bar carts, on the other hand, can be the perfect two-birds-in-one-stone idea: it’ll solve your space problem, give you a personalized piece of furniture, have minimal costs and decorate an empty space.
You can use a bar cart for many things. First, you can use it to serve and store glasses and bottles in addition to moving things closer to your diners.
Or, you can use it as an extra storage compartment for silverware or dining table accessories, like napkins. The wheels make these carts very versatile and practical for all kinds of everyday uses.
Recycling old furniture
You can make a bar cart by reusing an old piece of furniture. Make sure that the piece you want to use has the right features for converting it into a bar cart.
First, it’s fundamental that the piece you want to use has an appropriate weight because you’ll need to move it on wheels. You should also make sure that it doesn’t have a shape that limits access nor corners that could jut out when you’re moving it
Once you have the right piece, start by tiding up and personalizing it. You could use colorful paint, a varnish that works with the material or decorative accessories of your choice.
In this step, make sure that the structure stays sound. Protect the paint as well.
Before you add on the rest of the parts of the cart, leave it to dry completely. If you’re not sure how much time it needs, don’t be afraid to do the process in steps over a course of days to make sure that the glue, paint, and varnish are completely dry.
You won’t have any problems finding wheels because they’re sold at any home improvement or accessory store.
The easiest way to attach the wheels is by flipping your piece over first. Try laying out a rag or pillow in the floor before you flip it over to protect the structure. When flipped over, attach the wheels to the legs or corners.
Other types of carts
Another way to make your DIY bar cart is by using a different kind of cart as the base and transforming it. This option is much simpler and would save you the step of attaching the wheels. Not to mention, you wouldn’t have to look for wheels in the right size and style either.
A great cart that could work for this project is a fruit cart or your average grocery cart.
Transforming a cart offers all kinds of design possibilities. You’re free to change the color as well as to add accessories on top of the base frame.
If you want something a little different, a great idea is attaching a wooden board on one of the ends to cover the grid. The wood will create a different, more original look by mixing textures and materials.
You should also think about the base materials and its features if you decide to make a bar cart from a pre-existing cart. If your cart is metal and is rusty in some areas, look for the products you need to treat it before transforming it.
If you want to change the colors, look for the best paints for the job. The staff at specialized craft stores will know what you need. With their professional help and a little imagination, you can create something really special.


