Tips For Preventing Leaks in Your Home

Preventing leaks in your home will help you to protect yourself against costly repairs and damage. Water leaks in a home can damage decorative objects, furniture, and even vital structures, by generating humidity.
Moreover, humidity is detrimental to the health of people and pets. So, it’s better that you learn how to preempt and deal with annoying leaks if they happen to appear in your home. Take note of our tips!
Types of leaks that may happen
Before we talk about preventing leaks in your home, we want to help you identify the types of leaks you may experience. This is important because you’ll understand the best way of dealing with it or preventing it from happening in the first place.
- Flat roof or terrace leaks: these usually appear due to wear or a sealing failure on your roof.
- Bathroom leaks: can occur due to the humidity associated with this room, and will leave water stains on walls and ceilings.
- General leaks: these commonly occur when the pipes within the floor, walls, or ceiling break, split, burst, or become damaged.
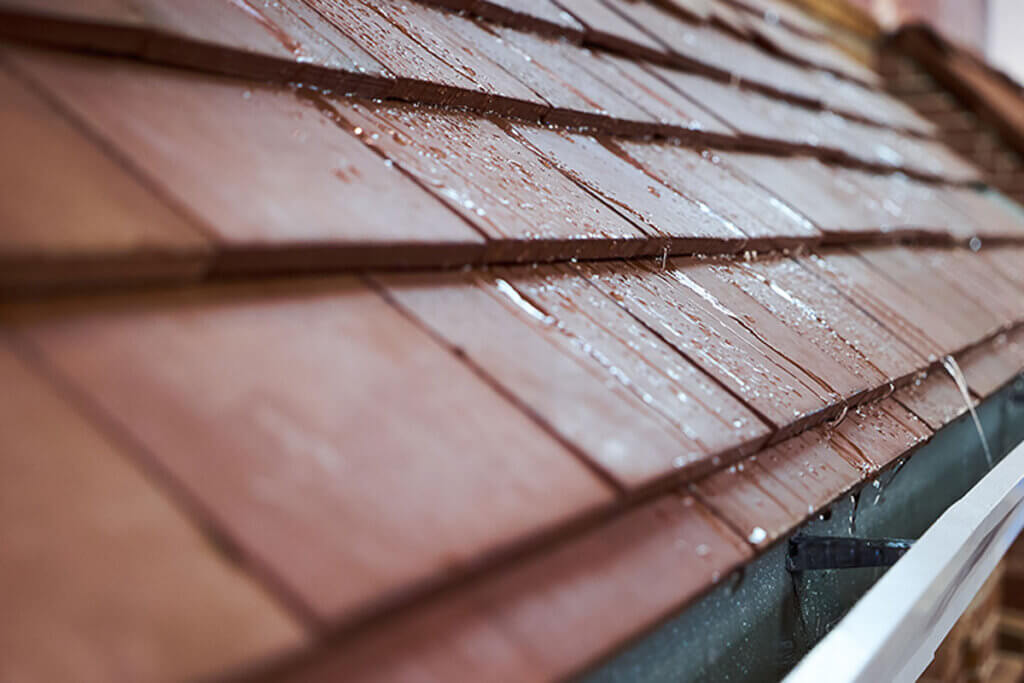
- Tiled roofs: one of the most common areas for leaks in homes, where tiles can become dislodged, shatter, or break, allowing rainwater to penetrate the home.
Tips to apply for preventing leaks in your home
Now you know the types of leaks you might be facing, it’s time to learn how to prevent them. However, before we continue, we want to remind you that your safety should always come first. Don’t attempt to carry out any repairs or install preventative measures if you’re unsure how to do this. Moreover, working at height can be dangerous and you should always ensure that you use appropriate safety equipment.
If you have enough skill to do this yourself, that’s great. But, if you’re in any doubt, always hire a professional service. In any case, we’ve provided a series of tips to help you prevent and repair leaks in your home.
Pinpoint where the leak is
If it’s raining and you notice a leak, you should wait until the weather improves before you locate the leak and begin repairs. In some cases locating the problem area is obvious, but in other instances, you may need to pour water over the roof to identify and pinpoint the exact position.
Clean the area thoroughly
Once you know exactly where the leak is, clean the area thoroughly so that the repair is successful. This can be done with a brush (to remove dust), a damp cloth, or a hose. After cleaning, use a dry cloth to make sure the area surrounding the leak is as dry as possible.
Choose the ideal method appropriate to your type of leak
There are different methods to repair leaks in your home. Choosing the right one depends on the type of leak you have and the surface material of the hole or leak. Discover the most appropriate method below:
The roof patch
This is a good option to temporarily fix a leak from inside a property. Simply locate the leak, clean and dry the surface, and apply a patch. To ensure it adheres well, use a putty knife to properly seal it, before removing any air pockets or wrinkles.
Although this is the easiest way, it must be said that, depending on the size of the leak, it’s a temporary solution. Ultimately, you’ll need to eradicate the exact cause.
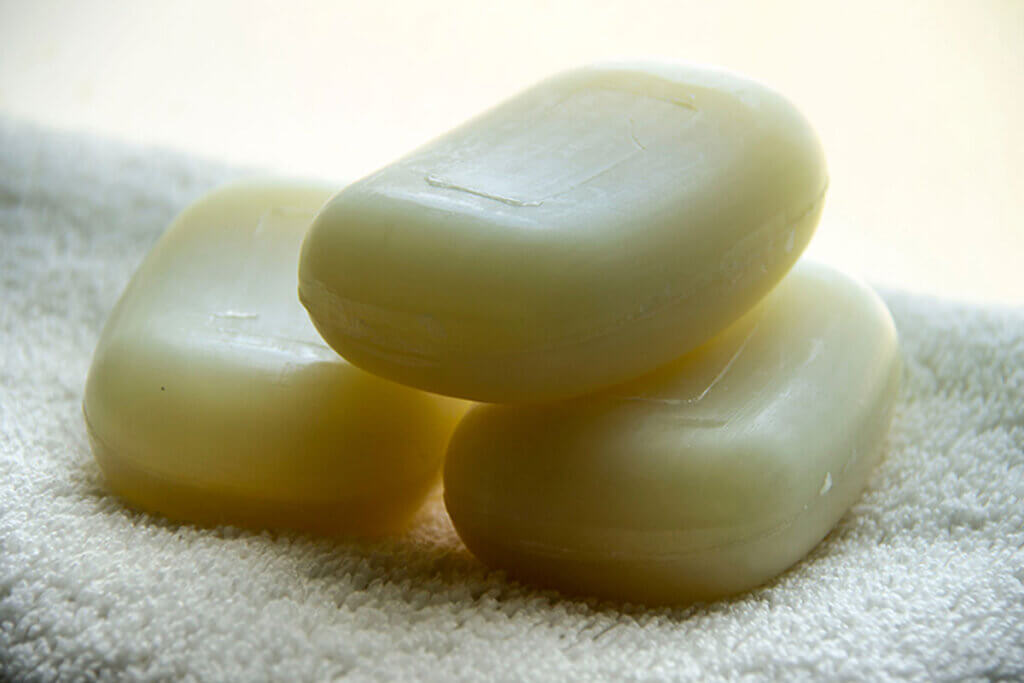
The homemade soap trick
If your leak requires an immediate solution, while you’re waiting for the professional to arrive or while you source specialist materials, this method is well worth considering.
It consists of taking a large bar of soap and mixing it with very hot water to create a homogeneous and compact paste. Let it cool enough to handle it and use a spatula to apply it to the clean (and dry) area. Let it harden and use a sealant over the top to reinforce it.
Preventing leaks in your home: waterproof spray
It’s amazing how the DIY home repair industry is progressing. Nowadays, you can even buy a waterproofing spray that helps to prevent leaks and seal existing leaks. However, it only works on cement, concrete, wood, plastic, and metal surfaces, among others described on the packaging.
Tar for roofing
The tar typically used on roofs is cheap and widely used, as it’s quite functional. It can be applied underneath the roof tiles or on the affected surface (from the exterior face). It works by creating an instant barrier that prevents water from seeping further into the property.
Preventing leaks in your home: seal the edges
Finally, some of the above methods (both patch and soap) require additional sealing. You can do this with putty or silicone, either of the two products can be applied with a special gun or with a spatula.
The idea is to complete this process when the area surrounding the leak is dry. Otherwise, the process may not be successful and it can cause more damage. In all the steps and tips we’ve given, you must ensure that the area is dry and that the product you use dries thoroughly too.
If preventing leaks in your home by yourself isn’t possible, hire a professional
As you’ve read, in theory, preventing leaks in your home is fairly simple. Even so, fixing leaks may turn out to be quite complex. You’ll need to have access to the right equipment such as a ladder and a safety kit with protective glasses, masks, and gloves, among other accessories.
If you don’t have access to this equipment and you don’t have the skill or the time to complete this work, don’t hesitate to hire a professional. Sometimes by doing this, you’ll save time, and money and your safety will be guaranteed.