Paper Flowers: Learn How to Make Them
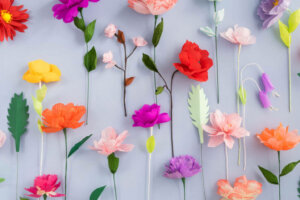
Ever since paper was invented, flowers and a wide variety of other crafts have been made from this material. Paper flowers first appeared in Europe around the 11th century and gradually, this art form spread throughout most of the world.
Much later, paper flowers became particularly popular when they were the protagonists of the 2009 spring fashion show of the renowned brand Chanel. But these go beyond their use in clothing. They’re now being used in different decorations inside homes, offering beauty and color with the advantage that they never wither or die.
Why make paper flowers?
Paper flowers are a wonderful alternative to decorate and make your home more beautiful. They have the great advantage of replacing fabric and real flowers. In addition, they’re environmentally friendly, as they can be made from recycled paper or used coffee filters.
Making them is really very simple. In fact, the web is awash with illustrative tutorials and videos on how to make paper flowers at home. With this material, you can make a wide variety of species that include different sizes, colors, and styles.
Make your own paper flowers!
As we’ve already mentioned, paper flowers are an excellent decorative option that can replace the use of real flower arrangements. This allows you to enjoy the color and beauty of the buds without having to spend money each time on natural ones that wilt. Or without having to spend a lot of time caring for live potted plants.
Next, we’re going to tell you how you can make three types of paper flowers with your own hands. Use these techniques to recreate different bouquets.
Paper gardenias
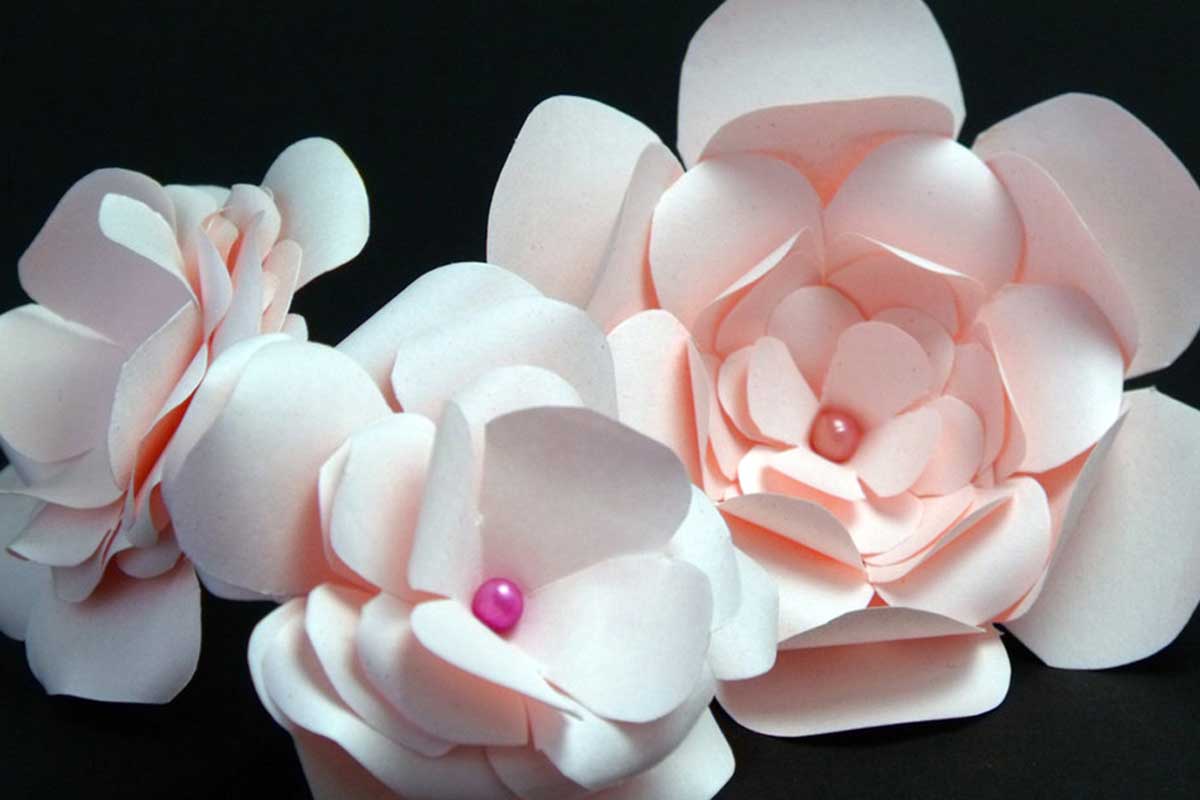
Gardenias are highly desirable flowers and the good news is that you can make them with paper. You should use cardstock or crepe paper, as its texture makes the design look more real. In addition, you should have a pencil, scissors, glue, paper tape, and skewer-type sticks.
Start by copying the design of the gardenia petals. You can find a model online and draw or print it out to create a mold. You’ll need four-petal cuts with three points and another three with five points. With the cuts ready, take the skewer-type sticks and start rolling petal by petal.
Keep in mind that you’ll start to create the flower from the inside, so you’ll have to squeeze the petals that’ll form the central bud with your hands. Then, stick on more open petals. With a piece of green cardboard recreate a couple of leaves so that the flower is complete.
Paper daisies

Daisies are beautiful flowers and are distinguished by their colors. In this case, use cardstock or crepe paper to bring the delicate, thin petals to life. In this case, you can also use a template or draw the structure yourself and then cut it out using scissors.
Remember that daisies have quite a few petals, so make sure that your flower looks as real as possible. Keep in mind that the outer petals should be longer than the inner ones. This is an opportunity that you can take advantage of to have a flower with two colors.
In the middle, this bud has a very characteristic yellow button, which is made with cardboard. Although if you want to give it more texture, you should use tissue paper to create small balls and attach them with glue.
Paper roses
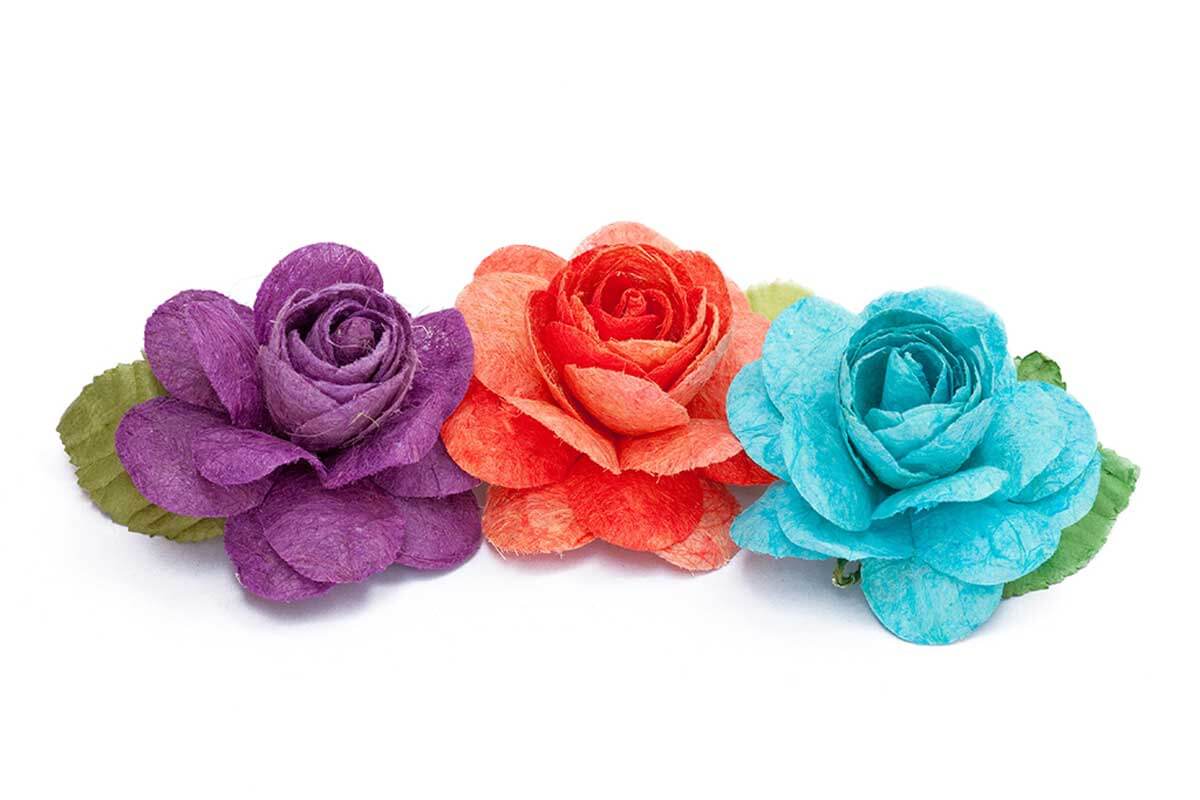
Paper roses are a creative challenge because they need to look as real as possible. Have at your disposal, materials such as crepe paper, tissue paper, and even recycled coffee filters. Also, keep your scissors, wire and floral tape, food coloring, and glue on hand.
If you’re going to use tissue or crepe paper, it’ll be enough to cut out each of the petals. If you decide to recycle your coffee filters, the process is as follows:
- Place your coffee filters in a bowl of water to remove any excess coffee.
- Change the water for new and add a few drops of food coloring, of the colors you want.
- Another option is to paint the petals with water paints.
- In either case, to dry the petals you should drain them and put them on a flat surface.
- To create realistic petals, take your coffee filter, fold it in half, and then half again. With the help of your scissors, you’re going to make a notch in the bottom corner, open the filter and make a slit in the side to shape it.
From this moment on, you’ll begin to join the petals to each other or to the floral wire, regardless of the material you’ve chosen. Starting with the bud in the center, roll the petals tightly so that they’re very close together, then start to loosen a little in order to shape your rose.
The floral tape is going to be used to help you fix the bottom of the rose and to disguise the joins in the petals. Remember to make some leaves too.
What other paper flowers would you like to make?
Here we’ve given you some ideas to start practicing and creating your own paper flowers, but these aren’t the only options. By following these techniques, your imagination and intuition can lead you to create different floral species such as daffodils and orchids.
In fact, why not let your imagination run free and improvise with the materials that you have?
Ever since paper was invented, flowers and a wide variety of other crafts have been made from this material. Paper flowers first appeared in Europe around the 11th century and gradually, this art form spread throughout most of the world.
Much later, paper flowers became particularly popular when they were the protagonists of the 2009 spring fashion show of the renowned brand Chanel. But these go beyond their use in clothing. They’re now being used in different decorations inside homes, offering beauty and color with the advantage that they never wither or die.
Why make paper flowers?
Paper flowers are a wonderful alternative to decorate and make your home more beautiful. They have the great advantage of replacing fabric and real flowers. In addition, they’re environmentally friendly, as they can be made from recycled paper or used coffee filters.
Making them is really very simple. In fact, the web is awash with illustrative tutorials and videos on how to make paper flowers at home. With this material, you can make a wide variety of species that include different sizes, colors, and styles.
Make your own paper flowers!
As we’ve already mentioned, paper flowers are an excellent decorative option that can replace the use of real flower arrangements. This allows you to enjoy the color and beauty of the buds without having to spend money each time on natural ones that wilt. Or without having to spend a lot of time caring for live potted plants.
Next, we’re going to tell you how you can make three types of paper flowers with your own hands. Use these techniques to recreate different bouquets.
Paper gardenias
Gardenias are highly desirable flowers and the good news is that you can make them with paper. You should use cardstock or crepe paper, as its texture makes the design look more real. In addition, you should have a pencil, scissors, glue, paper tape, and skewer-type sticks.
Start by copying the design of the gardenia petals. You can find a model online and draw or print it out to create a mold. You’ll need four-petal cuts with three points and another three with five points. With the cuts ready, take the skewer-type sticks and start rolling petal by petal.
Keep in mind that you’ll start to create the flower from the inside, so you’ll have to squeeze the petals that’ll form the central bud with your hands. Then, stick on more open petals. With a piece of green cardboard recreate a couple of leaves so that the flower is complete.
Paper daisies
Daisies are beautiful flowers and are distinguished by their colors. In this case, use cardstock or crepe paper to bring the delicate, thin petals to life. In this case, you can also use a template or draw the structure yourself and then cut it out using scissors.
Remember that daisies have quite a few petals, so make sure that your flower looks as real as possible. Keep in mind that the outer petals should be longer than the inner ones. This is an opportunity that you can take advantage of to have a flower with two colors.
In the middle, this bud has a very characteristic yellow button, which is made with cardboard. Although if you want to give it more texture, you should use tissue paper to create small balls and attach them with glue.
Paper roses
Paper roses are a creative challenge because they need to look as real as possible. Have at your disposal, materials such as crepe paper, tissue paper, and even recycled coffee filters. Also, keep your scissors, wire and floral tape, food coloring, and glue on hand.
If you’re going to use tissue or crepe paper, it’ll be enough to cut out each of the petals. If you decide to recycle your coffee filters, the process is as follows:
- Place your coffee filters in a bowl of water to remove any excess coffee.
- Change the water for new and add a few drops of food coloring, of the colors you want.
- Another option is to paint the petals with water paints.
- In either case, to dry the petals you should drain them and put them on a flat surface.
- To create realistic petals, take your coffee filter, fold it in half, and then half again. With the help of your scissors, you’re going to make a notch in the bottom corner, open the filter and make a slit in the side to shape it.
From this moment on, you’ll begin to join the petals to each other or to the floral wire, regardless of the material you’ve chosen. Starting with the bud in the center, roll the petals tightly so that they’re very close together, then start to loosen a little in order to shape your rose.
The floral tape is going to be used to help you fix the bottom of the rose and to disguise the joins in the petals. Remember to make some leaves too.
What other paper flowers would you like to make?
Here we’ve given you some ideas to start practicing and creating your own paper flowers, but these aren’t the only options. By following these techniques, your imagination and intuition can lead you to create different floral species such as daffodils and orchids.
In fact, why not let your imagination run free and improvise with the materials that you have?


