Recommendations for Waxing Wood

Waxing wood is something that seems simple, but it requires a certain technique for the finish to be perfect. Therefore, we’ll present you with some recommendations that’ll facilitate the application of the wax and improve the results.
In addition to making the surface smooth, waxing wood keeps its appearance alive and protects it. Yes, it’s true that at present this is a traditional technique, but for those who have wooden floors or furniture, it remains current. Especially when it comes to restoration.
Recommendations for waxing wood
The market offers different types of wood wax and each one can vary in the mode of application, so you should check the product label carefully. However, we’ll give you some general recommendations for its application.
Prepare the wood

Applying the wax onto the wood without first preparing it is a mistake. So you should take your time to prepare the wood for waxing, in this way you’ll achieve better results. For example, if you’re waxing wooden furniture that has hardware such as hinges and handles, you should remove them for an even application.
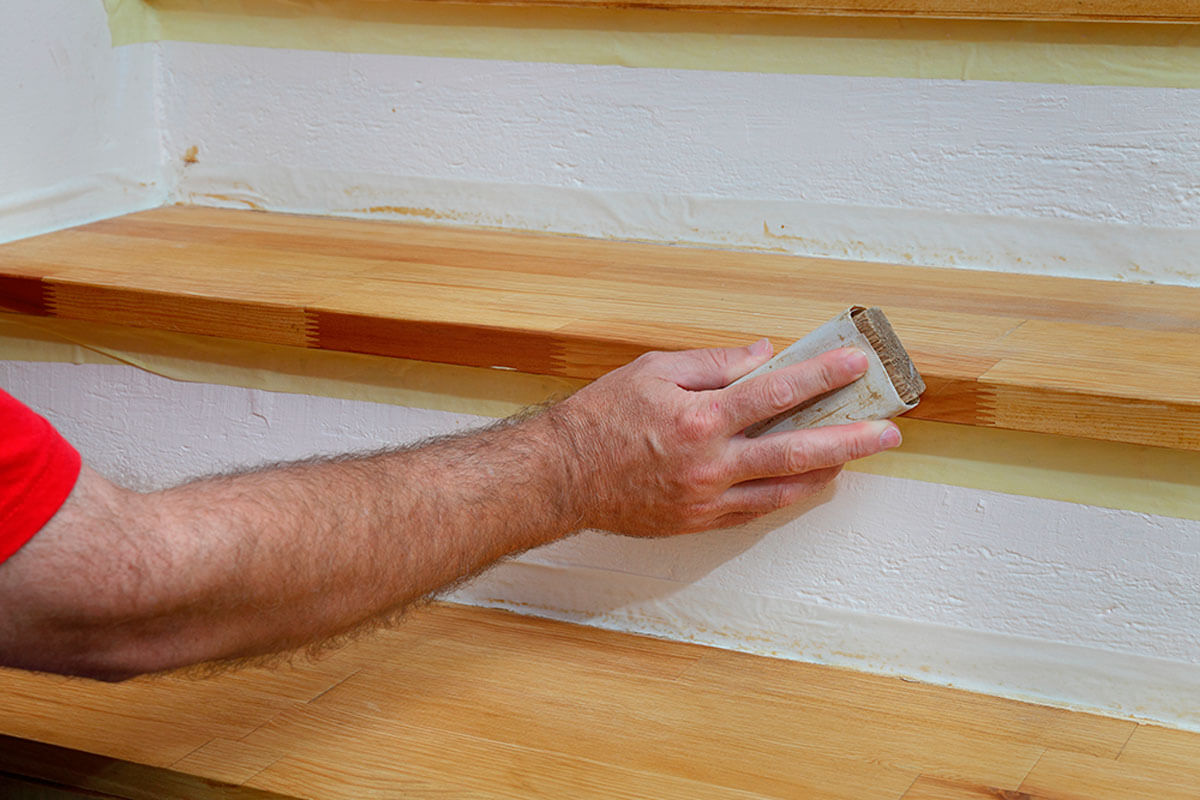
If it’s a piece of virgin wood, the most recommended preparation is to sand it to give it smoothness and eliminate imperfections. In the case of holes or dents, you’ll have to fill them. After this, you should sand the wood and remove any dust. In the case of wooden floors, you should sweep them very well so that they’re clean and free from dust and dirt.
Only when you’re using finishing wax can you skip these steps, since at the time of its application the wood has already been sanded, painted, or varnished. This is ideal for reviving the finish or applying an extra layer of protection.
Waxing wood: use wood stain
Make sure you remove the previous finish–this is an important step when you need to wax virgin or refurbished wood. Wood stain alters the color of the wood without affecting its natural grain. It’s used to complement the wood, give it a decorative touch or hide any defects.
On the market, you can find different types of wood stains such as those made from water, oils, gels, synthetic, polyvalent, and hydroalcoholic stains.
Waxing the wood

After preparing the wood, it’s time to apply the wax. There are different application techniques depending on the product. Here are the general steps:
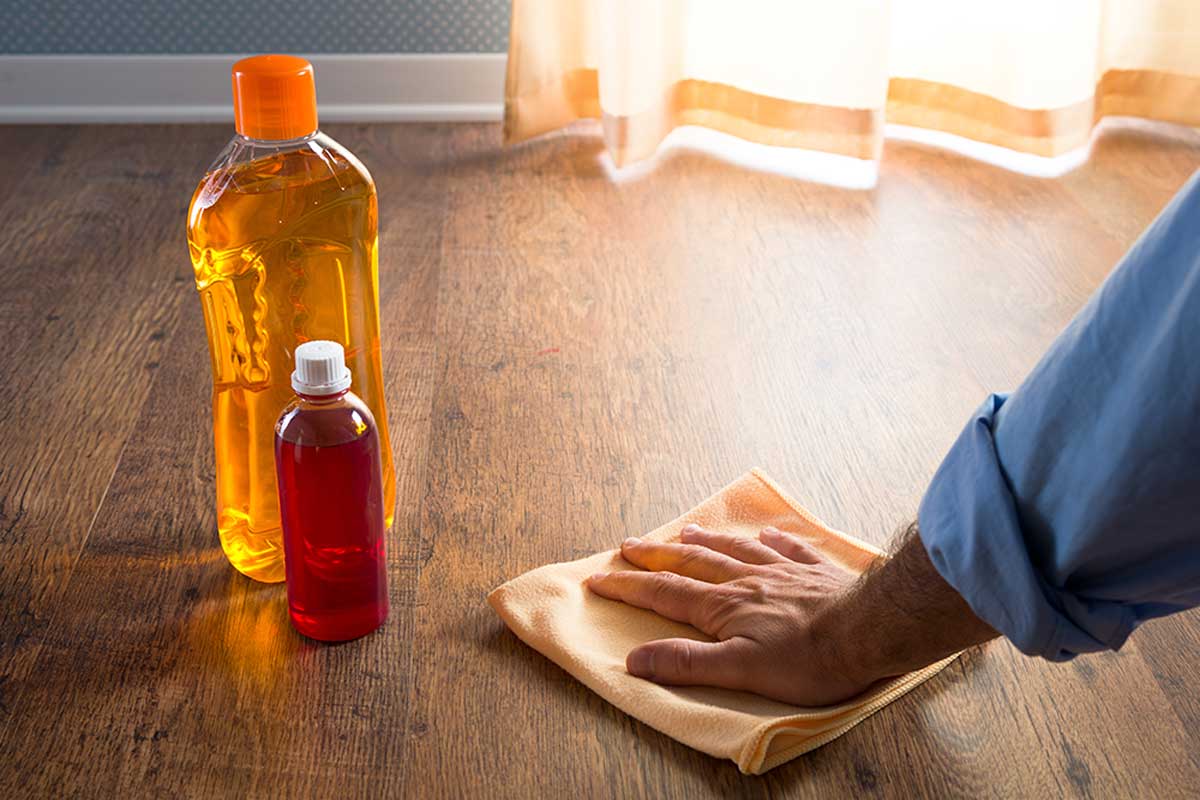
- Apply the liquid or cream wax with a cloth or brush, you must distribute it very well on the wood.
- Wait for it to dry, the time varies depending on the manufacturer, but your product will have the precise instructions on the label.
- While drying, avoid touching the piece of wood. If you’re waxing a wooden floor, avoid walking on it.
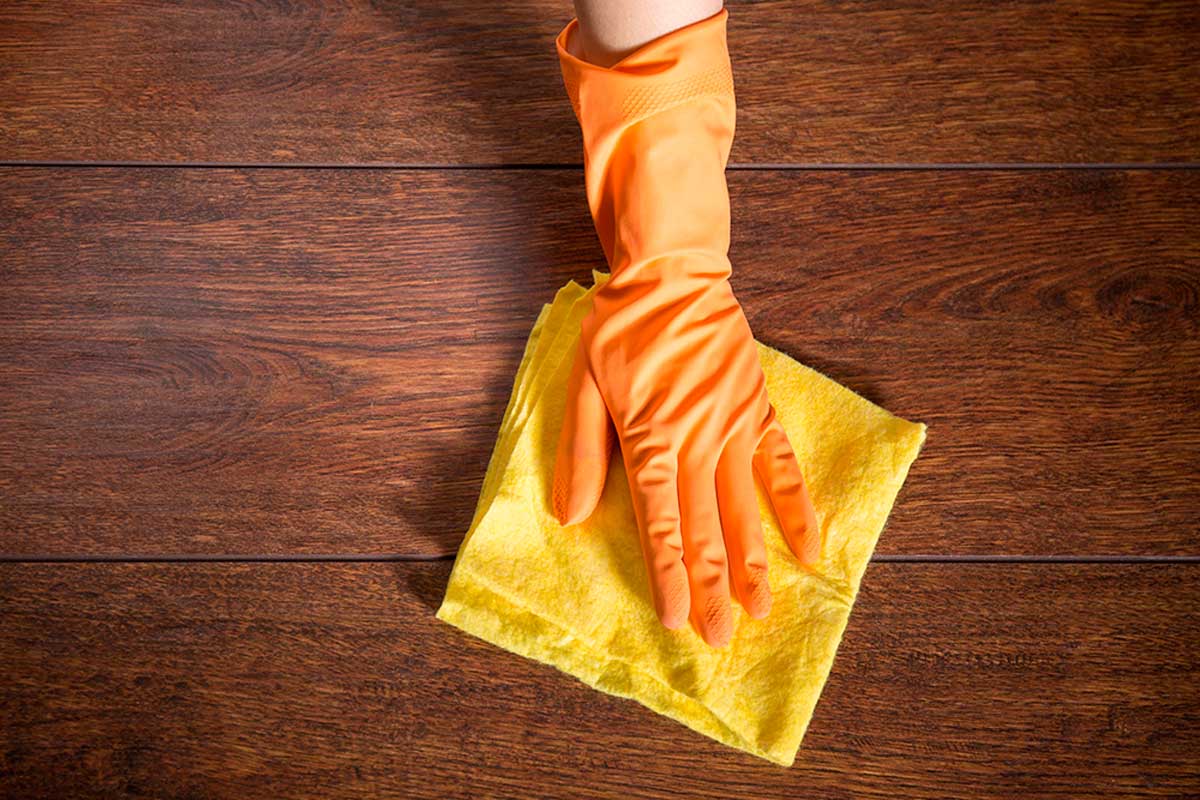
- Now you must polish the waxed wood, and you can do this with another cloth and polish in the direction of the grain. This way you’ll achieve a good shine.
Clean after waxing wood to maintain the finish
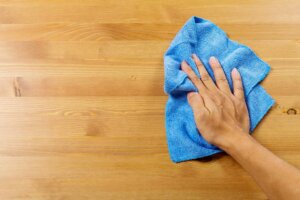
The wax gives a very good finish to the wood, but it marks and stains easily. If we’re talking about the floor, you’ll need to use a good quality cloth regularly to maintain the finish. This can be microfiber so that it doesn’t release lint. There are some specific wax cleaning products that you can use.
Frequency of waxing wood: renewing the wax

The frequency of waxing depends on the use of the wood. The purpose or its use is influenced by the quality of the wax you’ve chosen. Once you identify how often you should apply the wax, remember that the surface must always be kept clean.
Wax wood like a pro!
These recommendations are simple and basic, but they guarantee a better finish. In addition, you can apply them to the floor or items of wooden furniture such as tables, dining furniture, chairs, railings, lamp bases, or frames.
The last recommendation that we’ll present is for wooden surfaces that are subjected to a lot of use. It’s important to wax these regularly, in order to maintain the protective layer that the wax provides for longer. This will help you to have vibrant and elegant wood.
Waxing wood is something that seems simple, but it requires a certain technique for the finish to be perfect. Therefore, we’ll present you with some recommendations that’ll facilitate the application of the wax and improve the results.
In addition to making the surface smooth, waxing wood keeps its appearance alive and protects it. Yes, it’s true that at present this is a traditional technique, but for those who have wooden floors or furniture, it remains current. Especially when it comes to restoration.
Recommendations for waxing wood
The market offers different types of wood wax and each one can vary in the mode of application, so you should check the product label carefully. However, we’ll give you some general recommendations for its application.
Prepare the wood

Applying the wax onto the wood without first preparing it is a mistake. So you should take your time to prepare the wood for waxing, in this way you’ll achieve better results. For example, if you’re waxing wooden furniture that has hardware such as hinges and handles, you should remove them for an even application.
If it’s a piece of virgin wood, the most recommended preparation is to sand it to give it smoothness and eliminate imperfections. In the case of holes or dents, you’ll have to fill them. After this, you should sand the wood and remove any dust. In the case of wooden floors, you should sweep them very well so that they’re clean and free from dust and dirt.
Only when you’re using finishing wax can you skip these steps, since at the time of its application the wood has already been sanded, painted, or varnished. This is ideal for reviving the finish or applying an extra layer of protection.
Waxing wood: use wood stain
Make sure you remove the previous finish–this is an important step when you need to wax virgin or refurbished wood. Wood stain alters the color of the wood without affecting its natural grain. It’s used to complement the wood, give it a decorative touch or hide any defects.
On the market, you can find different types of wood stains such as those made from water, oils, gels, synthetic, polyvalent, and hydroalcoholic stains.
Waxing the wood

After preparing the wood, it’s time to apply the wax. There are different application techniques depending on the product. Here are the general steps:
- Apply the liquid or cream wax with a cloth or brush, you must distribute it very well on the wood.
- Wait for it to dry, the time varies depending on the manufacturer, but your product will have the precise instructions on the label.
- While drying, avoid touching the piece of wood. If you’re waxing a wooden floor, avoid walking on it.
- Now you must polish the waxed wood, and you can do this with another cloth and polish in the direction of the grain. This way you’ll achieve a good shine.
Clean after waxing wood to maintain the finish
The wax gives a very good finish to the wood, but it marks and stains easily. If we’re talking about the floor, you’ll need to use a good quality cloth regularly to maintain the finish. This can be microfiber so that it doesn’t release lint. There are some specific wax cleaning products that you can use.
Frequency of waxing wood: renewing the wax

The frequency of waxing depends on the use of the wood. The purpose or its use is influenced by the quality of the wax you’ve chosen. Once you identify how often you should apply the wax, remember that the surface must always be kept clean.
Wax wood like a pro!
These recommendations are simple and basic, but they guarantee a better finish. In addition, you can apply them to the floor or items of wooden furniture such as tables, dining furniture, chairs, railings, lamp bases, or frames.
The last recommendation that we’ll present is for wooden surfaces that are subjected to a lot of use. It’s important to wax these regularly, in order to maintain the protective layer that the wax provides for longer. This will help you to have vibrant and elegant wood.


