Paint and Renovate Your Dog's House

Renovate your dog’s house with a lick of paint! Although your pet doesn’t understand much about decor, he’ll surely love it if you renovate his space. In addition, leaving the traditional wooden house in the past will give a new look to your patio or garden, it’ll have much more life and color.
Taking into account that these types of houses are located in outdoor areas, it’s important to consider some aspects such as the weather, before starting to paint. Here are some tips to help you make the best decisions.
Tips for painting and renovating your dog’s house
Be careful with the type of paint you choose!
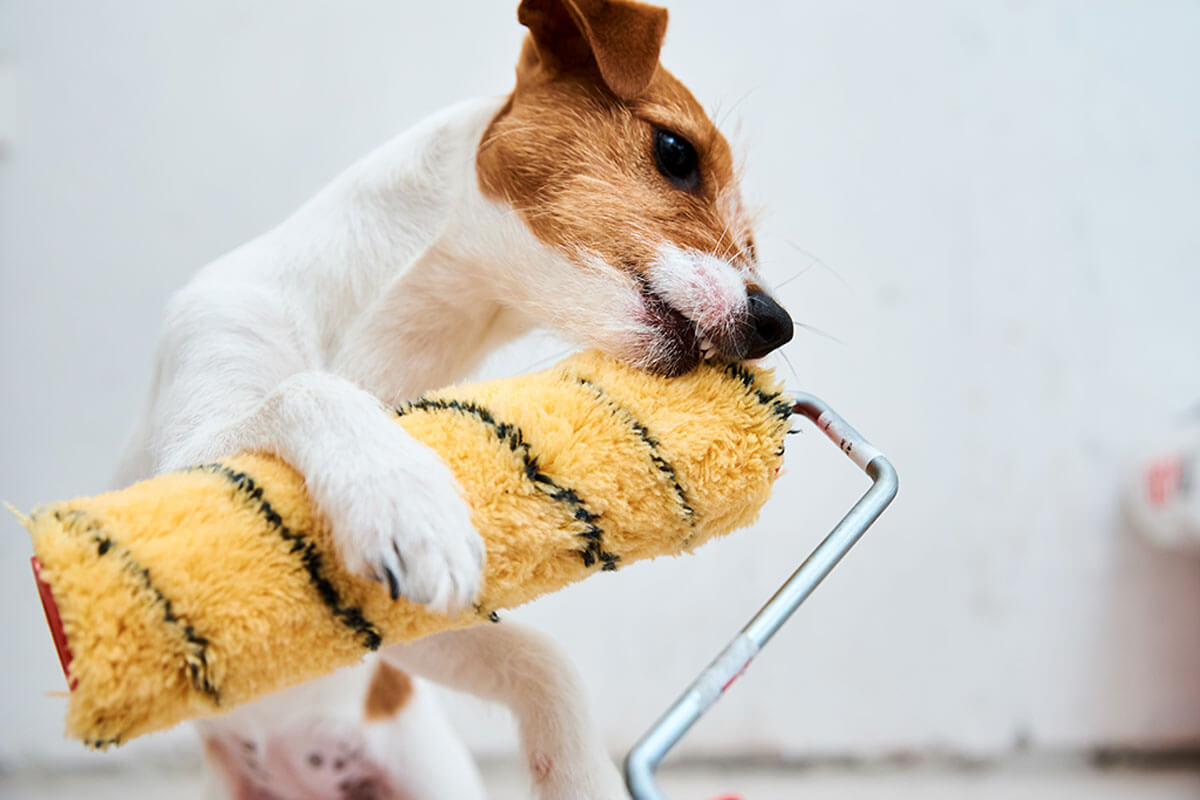
Most paints are suitable for use on wood. However, in addition to the material that your dog’s house is made of, you should consider that they tend to bite everything. This is why acrylic or latex water paint is a good choice. They’re sturdy paints, so your dog’s teeth and nails won’t damage it easily.
You can even treat it with natural oils such as linseed, to protect it without causing harm to your pet. Tell the seller what you’ll use it for, so they can sell you a type of paint that isn’t lead-based or that contains other toxins that can endanger your dog.
The colors of your dog’s house
The colors with which you’re going to paint and renovate your dog’s house are very important. If you live in a very warm area, black and dark colors aren’t suitable, as they retain UV rays by increasing the temperature. Remember that excess heat in pets can lead to heatstroke.
In that case, light colors are the ideal option to keep your four-legged friend’s home cool and pleasant. For the same reason, if you live in a cold area, you can safely choose dark colors. Following these recommendations, choose the colors you want.
Wood surface and preparation
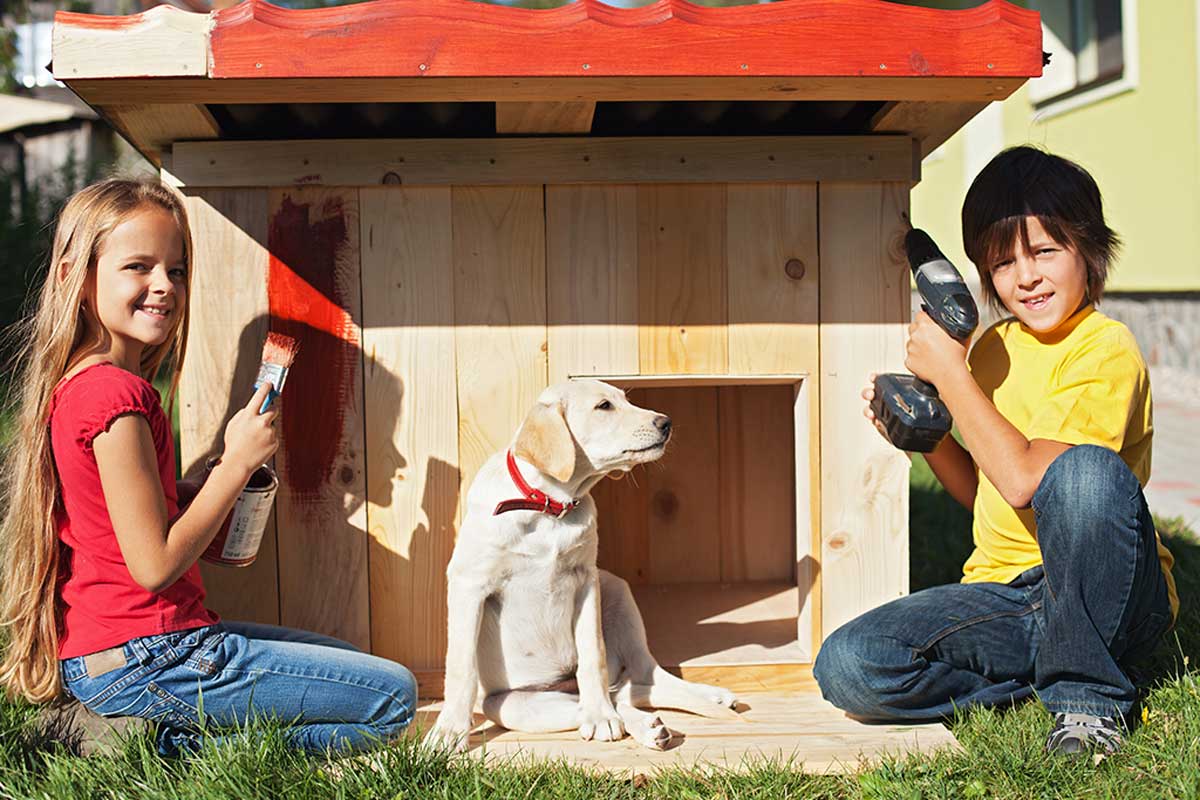
Now you’ve defined the type of paint to use, as well as the colors, it’s time to start painting. But first, you must prepare the wood. Follow these simple steps:
- With soft sandpaper go over all the areas of your dog’s house. The idea is that you remove imperfections.
- After cleaning the dust that the sandpaper produces, apply the first coat of paint. Choose a brush or roller, choose the implement with which you feel most comfortable.
- Let it dry well and apply the second coat. If when drying, you consider that it needs a third layer, go ahead.
Before letting your dog into his home, it’s necessary that it dries completely and that it remains airy. Even though you haven’t used toxic paint, the smell of fresh paint can make your dog uncomfortable.
Don’t forget the roof of your dog’s house!
If the roof of your dog’s house is made of a different material to wood, it’s likely you’ll need to apply a special and water-resistant coating. If it’s wood, in addition to the paint you’ve applied, you’ll need to use a high-level wood primer. In this way, you’ll prevent your pet from getting wet when it rains.
Customize your dog’s house and make it comfortable
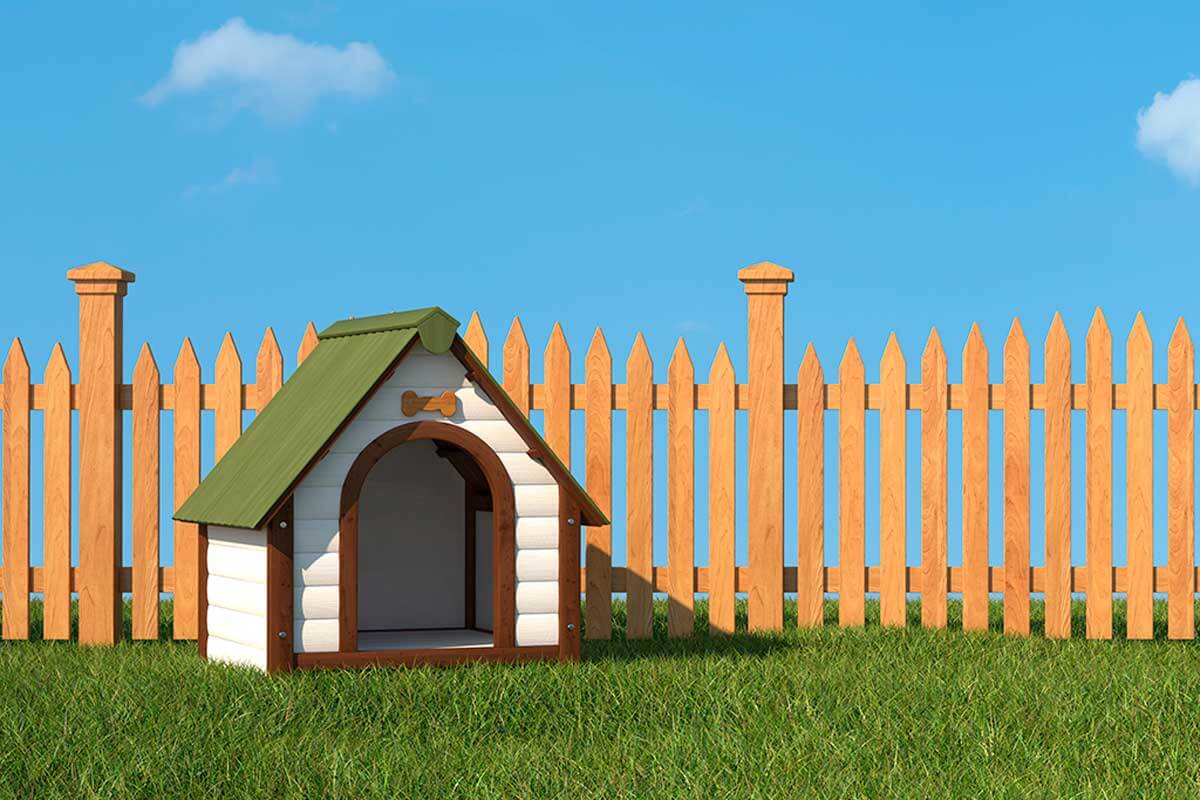
The last of the tips for renovating your dog’s house has to do with personalization. Although you’ve chosen the colors that you know he’ll like, you can use some extra stickers or accessories such as a sign with the name of your pet.
You can even plant a couple of pots of herbs for your dog. For comfort, place a soft bed inside his house.
Get to work: ready to renovate your dog’s house?
You already know how to paint and renovate your dog’s house, now you just need to put your hands (and paws) to work. Choose a day when the whole family can collaborate to return the love and loyalty that your furry one shares with you. In fact, let him or her leave a paw mark on your home.
Renovate your dog’s house with a lick of paint! Although your pet doesn’t understand much about decor, he’ll surely love it if you renovate his space. In addition, leaving the traditional wooden house in the past will give a new look to your patio or garden, it’ll have much more life and color.
Taking into account that these types of houses are located in outdoor areas, it’s important to consider some aspects such as the weather, before starting to paint. Here are some tips to help you make the best decisions.
Tips for painting and renovating your dog’s house
Be careful with the type of paint you choose!

Most paints are suitable for use on wood. However, in addition to the material that your dog’s house is made of, you should consider that they tend to bite everything. This is why acrylic or latex water paint is a good choice. They’re sturdy paints, so your dog’s teeth and nails won’t damage it easily.
You can even treat it with natural oils such as linseed, to protect it without causing harm to your pet. Tell the seller what you’ll use it for, so they can sell you a type of paint that isn’t lead-based or that contains other toxins that can endanger your dog.
The colors of your dog’s house
The colors with which you’re going to paint and renovate your dog’s house are very important. If you live in a very warm area, black and dark colors aren’t suitable, as they retain UV rays by increasing the temperature. Remember that excess heat in pets can lead to heatstroke.
In that case, light colors are the ideal option to keep your four-legged friend’s home cool and pleasant. For the same reason, if you live in a cold area, you can safely choose dark colors. Following these recommendations, choose the colors you want.
Wood surface and preparation

Now you’ve defined the type of paint to use, as well as the colors, it’s time to start painting. But first, you must prepare the wood. Follow these simple steps:
- With soft sandpaper go over all the areas of your dog’s house. The idea is that you remove imperfections.
- After cleaning the dust that the sandpaper produces, apply the first coat of paint. Choose a brush or roller, choose the implement with which you feel most comfortable.
- Let it dry well and apply the second coat. If when drying, you consider that it needs a third layer, go ahead.
Before letting your dog into his home, it’s necessary that it dries completely and that it remains airy. Even though you haven’t used toxic paint, the smell of fresh paint can make your dog uncomfortable.
Don’t forget the roof of your dog’s house!
If the roof of your dog’s house is made of a different material to wood, it’s likely you’ll need to apply a special and water-resistant coating. If it’s wood, in addition to the paint you’ve applied, you’ll need to use a high-level wood primer. In this way, you’ll prevent your pet from getting wet when it rains.
Customize your dog’s house and make it comfortable

The last of the tips for renovating your dog’s house has to do with personalization. Although you’ve chosen the colors that you know he’ll like, you can use some extra stickers or accessories such as a sign with the name of your pet.
You can even plant a couple of pots of herbs for your dog. For comfort, place a soft bed inside his house.
Get to work: ready to renovate your dog’s house?
You already know how to paint and renovate your dog’s house, now you just need to put your hands (and paws) to work. Choose a day when the whole family can collaborate to return the love and loyalty that your furry one shares with you. In fact, let him or her leave a paw mark on your home.
All cited sources were thoroughly reviewed by our team to ensure their quality, reliability, currency, and validity. The bibliography of this article was considered reliable and of academic or scientific accuracy.
- Golpe de calor en perros. Clínica Veterinaria Lardy de Donostia.


