Pictures with Leaves: Make them Yourself!
Pictures with leaves are beautiful and enchanting. Although it may seem difficult to make your own, after reading this article, you’re going to be able to do just that! You’ll soon discover that they’re very simple to create.
In this way, you can bring the freshness and color of nature to your home, so that your spaces have more style and personality.
A step-by-step guide to making your own pictures with leaves
Next, we’re going to present a step-by-step guide to help you make your own pictures with leaves.
1. Select your favorite leaves
The first thing you have to do to start creating your pictures with leaves is to select the leaves that you like the most and the ones you can visualize adorning your walls. If you have plants at home and want to use their leaves, save them after you prune them.
When you go for a walk, it’s also a good idea to take a bag with you and collect leaves lying on the ground that catch your attention. Here we’ll list the best leaves that you can use:
- Dandelion: these are very striking due to the shape of their edges, which are uneven and jagged.
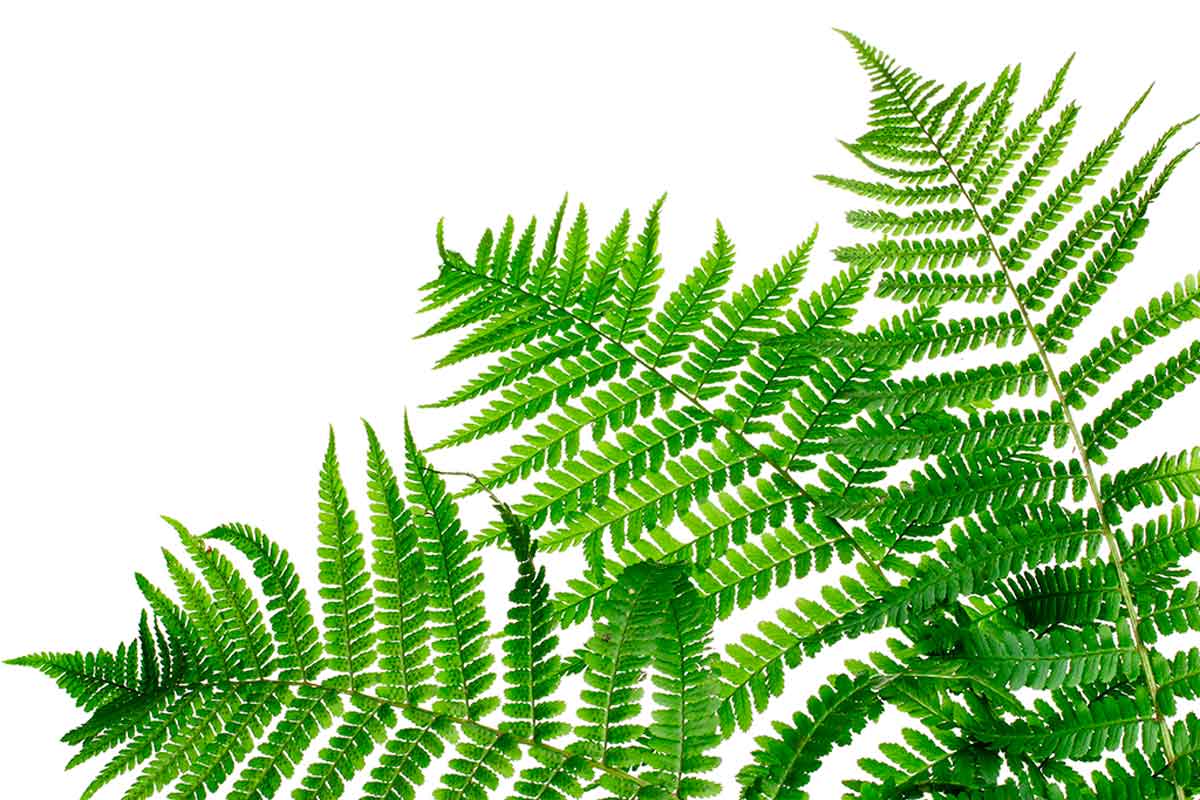
- Traditional black maidenhair: this is a type of fern that provides beautiful shapes when multiple leaves are used in the same frame.
- Common geranium: very beautiful lobed leaves that create contrasting figures.
- Ficus: an intense green that’s very interesting and striking.
- Ranunculus: small and delicate leaves, precise for this type of decoration.
2. Clean them, flatten them and let them dry
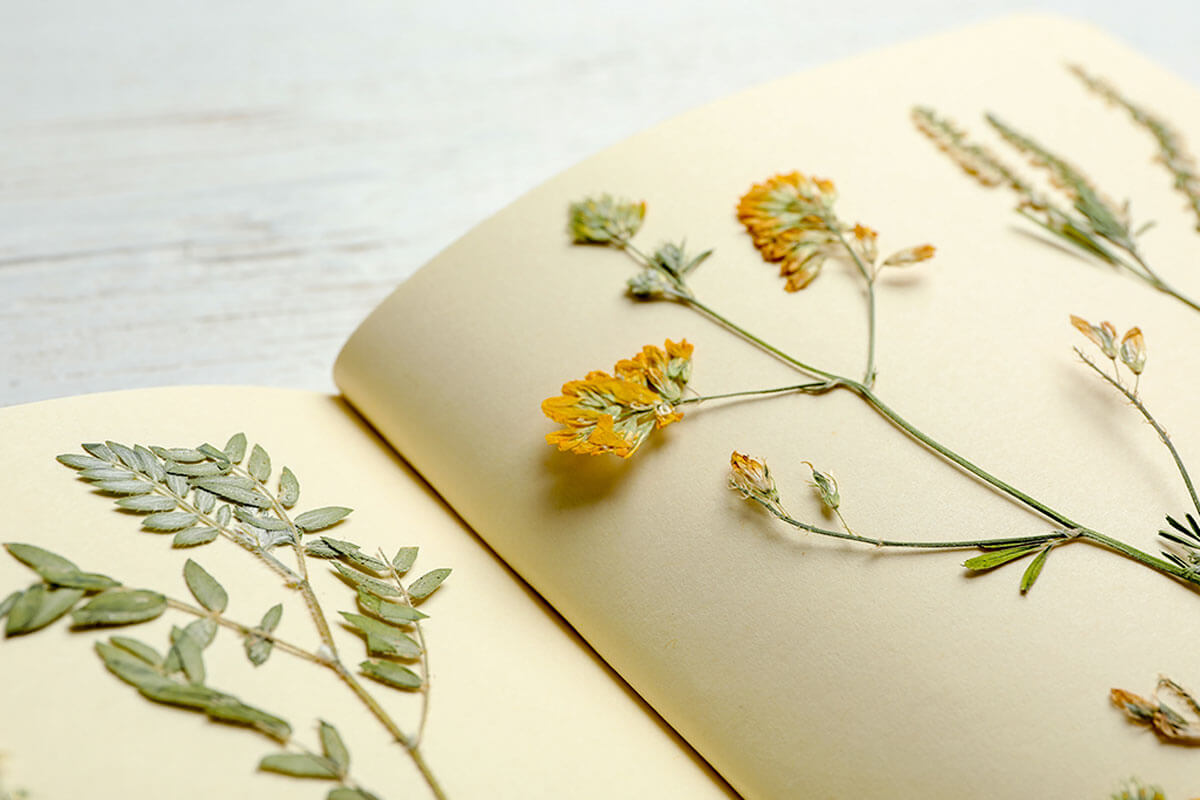
Check all your leaves and clean them, remove dust, dirt, or grass debris. Dry them with kitchen paper or newspaper. To press them, you can make your own press. You’ll only need two wooden boards secured with screws and wing nuts to press them together. Place newspaper, the sheets that you want to press them onto, and screw the boards closed.
Arrange them so there’s space between each sheet so they don’t stick together as they dry. Keep in mind that this is a step that takes time. Every five to seven days, you’ll need to change the newspaper in order to collect the moisture that they begin to release during the drying process. This process will last about 20 to 25 days.
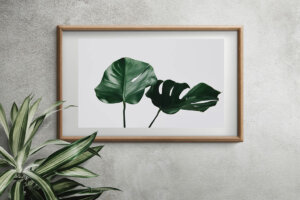
3. It’s time to make your pictures with leaves!
After several days of waiting for the sheets to flatten and dry, the best moment arrives– it’s time to make your pictures. You can buy some frames or make your own, everything will depend on your time and tastes.
Keep in mind that any larger leaves should go in a frame alone so as not to saturate the picture, while the smaller leaves can be placed together.
4. Choose the ideal space and the organization of your paintings
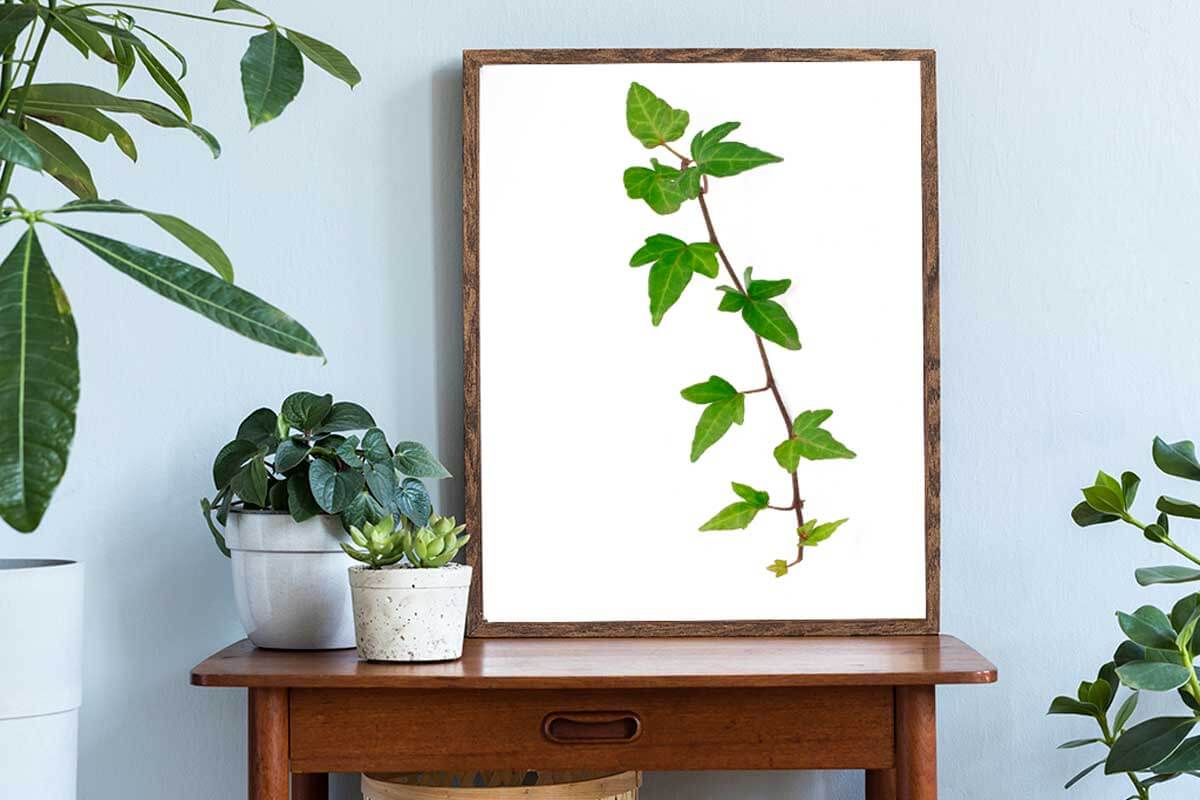
With the sheets squares ready, it only remains to choose the space in which you’re going to display them. Showing them off in the bedroom will give a touch of warmth and elegance. You can put them on one of your sidewalls or on the wall behind your headboard.
The same applies to your living room, dining room, kitchen, and even your bathroom. Thinking about each space you have means you can choose the size of your paintings. In fact, here comes the second part of this step, depending on the wall you’ve chosen, why not combine pictures of different sizes?
Now, so that you don’t fill your wall with unnecessary holes, distribute the pictures on the floor as you’re imagining them, so you’ll be certain when you put them in their final place.
5. Enjoy your paintings with leaves
The fifth and final step in this process is about enjoying your work. Combine the wall where you’ve hung your pictures with indoor plants in different shades to make a contrast. Lastly, don’t be afraid to tell your guests how you made those beautiful pictures yourself.
Ready to make your own pictures with leaves?
Now you know how easy it is to make pictures with leaves, the invitation is for you to make your own. If you want to put the paintings in different spaces, go ahead! Add dynamism to your decoration by choosing different frames or create a sober look using the same type.
The most important thing is that you enjoy creating and combining the leaves and shapes of your paintings.
Pictures with leaves are beautiful and enchanting. Although it may seem difficult to make your own, after reading this article, you’re going to be able to do just that! You’ll soon discover that they’re very simple to create.
In this way, you can bring the freshness and color of nature to your home, so that your spaces have more style and personality.
A step-by-step guide to making your own pictures with leaves
Next, we’re going to present a step-by-step guide to help you make your own pictures with leaves.
1. Select your favorite leaves
The first thing you have to do to start creating your pictures with leaves is to select the leaves that you like the most and the ones you can visualize adorning your walls. If you have plants at home and want to use their leaves, save them after you prune them.
When you go for a walk, it’s also a good idea to take a bag with you and collect leaves lying on the ground that catch your attention. Here we’ll list the best leaves that you can use:
- Dandelion: these are very striking due to the shape of their edges, which are uneven and jagged.
- Traditional black maidenhair: this is a type of fern that provides beautiful shapes when multiple leaves are used in the same frame.
- Common geranium: very beautiful lobed leaves that create contrasting figures.
- Ficus: an intense green that’s very interesting and striking.
- Ranunculus: small and delicate leaves, precise for this type of decoration.
2. Clean them, flatten them and let them dry
Check all your leaves and clean them, remove dust, dirt, or grass debris. Dry them with kitchen paper or newspaper. To press them, you can make your own press. You’ll only need two wooden boards secured with screws and wing nuts to press them together. Place newspaper, the sheets that you want to press them onto, and screw the boards closed.
Arrange them so there’s space between each sheet so they don’t stick together as they dry. Keep in mind that this is a step that takes time. Every five to seven days, you’ll need to change the newspaper in order to collect the moisture that they begin to release during the drying process. This process will last about 20 to 25 days.
3. It’s time to make your pictures with leaves!
After several days of waiting for the sheets to flatten and dry, the best moment arrives– it’s time to make your pictures. You can buy some frames or make your own, everything will depend on your time and tastes.
Keep in mind that any larger leaves should go in a frame alone so as not to saturate the picture, while the smaller leaves can be placed together.
4. Choose the ideal space and the organization of your paintings
With the sheets squares ready, it only remains to choose the space in which you’re going to display them. Showing them off in the bedroom will give a touch of warmth and elegance. You can put them on one of your sidewalls or on the wall behind your headboard.
The same applies to your living room, dining room, kitchen, and even your bathroom. Thinking about each space you have means you can choose the size of your paintings. In fact, here comes the second part of this step, depending on the wall you’ve chosen, why not combine pictures of different sizes?
Now, so that you don’t fill your wall with unnecessary holes, distribute the pictures on the floor as you’re imagining them, so you’ll be certain when you put them in their final place.
5. Enjoy your paintings with leaves
The fifth and final step in this process is about enjoying your work. Combine the wall where you’ve hung your pictures with indoor plants in different shades to make a contrast. Lastly, don’t be afraid to tell your guests how you made those beautiful pictures yourself.
Ready to make your own pictures with leaves?
Now you know how easy it is to make pictures with leaves, the invitation is for you to make your own. If you want to put the paintings in different spaces, go ahead! Add dynamism to your decoration by choosing different frames or create a sober look using the same type.
The most important thing is that you enjoy creating and combining the leaves and shapes of your paintings.


