Make your Own Heat Pack in 5 Steps
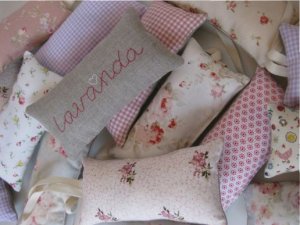
A heat pack is a fabric bag that’s filled with grain and often, aromatic elements as well. They’re very useful during colder months.
You can use heat packs to warm up in addition to relax or relieve muscle and joint pain.
Heat packs aren’t exactly a decor accessory, but it’s hard to ignore their aesthetic qualities. As a result, many companies use pretty fabric and creative patterns.
To make your own heat pack, think about your own design preferences to create a completely personalized object. Let’s get to work!
Steps for making a heat pack
While rice and other elements are popular recommendations to use as a filling, they’re definitely not the best options.
After several uses, a rice-filled pack might smell funny and harbor insects. So, we don’t recommend using rice for this project.
Additionally, other fillers like cherry or olive pits aren’t very efficient. Instead of helping you feel more comfortable, they can do the opposite.
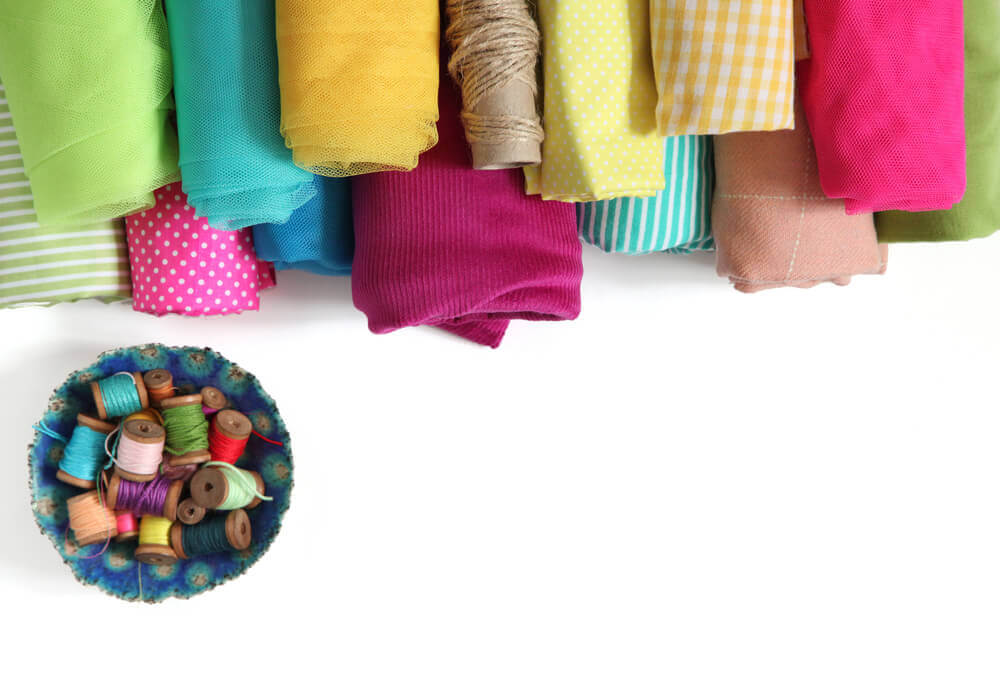
1. Gather your materials
- String
- Ruler
- Scissors
- Chalk or soap
- Sewing needle or machine
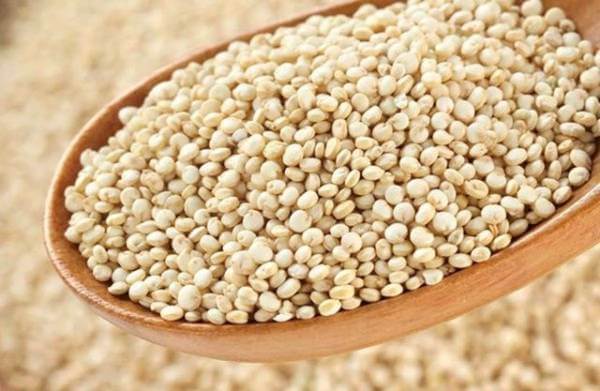
- Filling: millet
- A piece of fabric (cotton, linen, etc.)
- Optional: 2-3 handfuls of aromatic plants
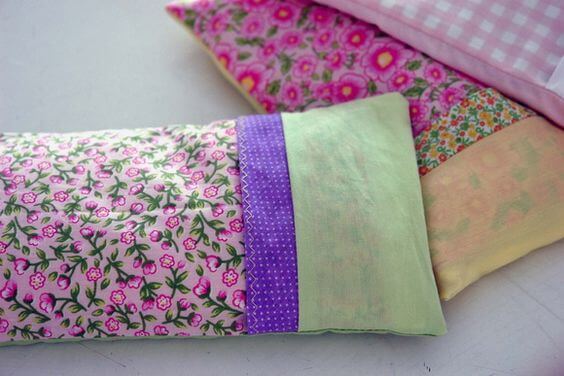
Gather all of the materials for your heat pack. You can use a piece of fabric that you already have at home. Feel free to use cotton, linen, a fabric scrap (a single color or patterned) or even an old shirt.
2. Prepare your fabric
Before you begin, have a clear idea of which shape you want to make your pack. Be mindful of how much fabric you have available. Additionally, measure it out before you start cutting.
You’ll be heating up your pack in the microwave, so making a smaller size will be more convenient.
If this is your first pack, we recommend making a medium-sized, rectangular shape. Once you have your measurements, use the chalk to mark out the lines that you’ll cut.
When marking up your fabric, leave at least 1 cm. of sewing margin. Also, remember that you’ll need two identical rectangles for the front and back of your pack.
3. Cut and sew
Once you’ve finished cutting your fabric, place one rectangle on top of the other and sew them together. You can sew them manually (needle and thread) or on a sewing machine.
Don’t sew the top end of the pack as you’ll need an opening for the millet. Once you’ve finished sewing the sides and bottom, flip the pack inside out to hide the seams.
Make sure your stitches are sturdy. If not, the filling might create too much pressure on the sides.

4. Fill the pack
Once you’ve double-checked your seams, fill your pack. We recommend only filling it 85-90% with millet.
If you want, you can also add a little lavender, saffron, rosemary or eucalyptus to perfume your pack. When you heat up the millet, the aromatic additions will help reduce muscle pain.
Another idea is dabbing the inside of your pack with a small amount of your favorite essential oil.
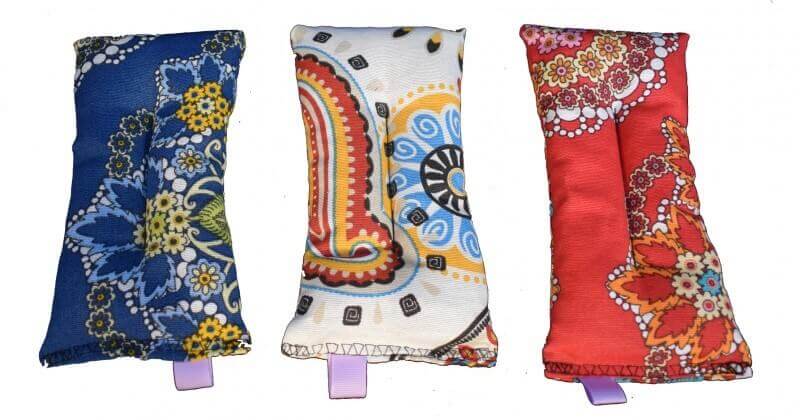
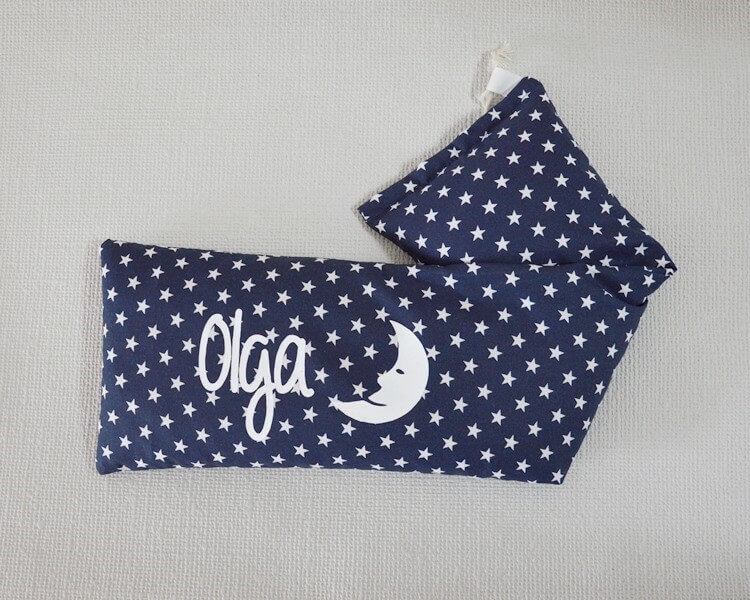
5. Sew your pack shut and decorate
Once you’ve filled your pack, sew the top end to close it. Then, decorate it however you want. You could use sequins, buttons or even bows, etc.
Additional notes
When you heat up your pack in the microwave, put in a glass of warm water to prevent it from burning. Also, don’t heat up your pack for more than 3 minutes.
As we mentioned before, you can use your heat pack to warm up your bed at night or to relieve body aches.
A heat pack is a fabric bag that’s filled with grain and often, aromatic elements as well. They’re very useful during colder months.
You can use heat packs to warm up in addition to relax or relieve muscle and joint pain.
Heat packs aren’t exactly a decor accessory, but it’s hard to ignore their aesthetic qualities. As a result, many companies use pretty fabric and creative patterns.
To make your own heat pack, think about your own design preferences to create a completely personalized object. Let’s get to work!
Steps for making a heat pack
While rice and other elements are popular recommendations to use as a filling, they’re definitely not the best options.
After several uses, a rice-filled pack might smell funny and harbor insects. So, we don’t recommend using rice for this project.
Additionally, other fillers like cherry or olive pits aren’t very efficient. Instead of helping you feel more comfortable, they can do the opposite.
1. Gather your materials
- String
- Ruler
- Scissors
- Chalk or soap
- Sewing needle or machine
- Filling: millet
- A piece of fabric (cotton, linen, etc.)
- Optional: 2-3 handfuls of aromatic plants
Gather all of the materials for your heat pack. You can use a piece of fabric that you already have at home. Feel free to use cotton, linen, a fabric scrap (a single color or patterned) or even an old shirt.
2. Prepare your fabric
Before you begin, have a clear idea of which shape you want to make your pack. Be mindful of how much fabric you have available. Additionally, measure it out before you start cutting.
You’ll be heating up your pack in the microwave, so making a smaller size will be more convenient.
If this is your first pack, we recommend making a medium-sized, rectangular shape. Once you have your measurements, use the chalk to mark out the lines that you’ll cut.
When marking up your fabric, leave at least 1 cm. of sewing margin. Also, remember that you’ll need two identical rectangles for the front and back of your pack.
3. Cut and sew
Once you’ve finished cutting your fabric, place one rectangle on top of the other and sew them together. You can sew them manually (needle and thread) or on a sewing machine.
Don’t sew the top end of the pack as you’ll need an opening for the millet. Once you’ve finished sewing the sides and bottom, flip the pack inside out to hide the seams.
Make sure your stitches are sturdy. If not, the filling might create too much pressure on the sides.
4. Fill the pack
Once you’ve double-checked your seams, fill your pack. We recommend only filling it 85-90% with millet.
If you want, you can also add a little lavender, saffron, rosemary or eucalyptus to perfume your pack. When you heat up the millet, the aromatic additions will help reduce muscle pain.
Another idea is dabbing the inside of your pack with a small amount of your favorite essential oil.
5. Sew your pack shut and decorate
Once you’ve filled your pack, sew the top end to close it. Then, decorate it however you want. You could use sequins, buttons or even bows, etc.
Additional notes
When you heat up your pack in the microwave, put in a glass of warm water to prevent it from burning. Also, don’t heat up your pack for more than 3 minutes.
As we mentioned before, you can use your heat pack to warm up your bed at night or to relieve body aches.


