Make Your Own Hanging Rope Shelf
In our post today, we’re diving into a fun and original project: make your own hanging rope shelf. It’s a simple project that you can do all by yourself and you won’t need a big budget.
Shelves are crucial for homes. They help your organize your belongings and decorate rooms at the same time. Shelves also showcase your special memories, decorative accessories, photographs, books, etc.
They come in a huge variety. You can find shelves in different sizes and styles, for any context or room and they can add a subtle, original decor to any space.
Hanging rope shelf
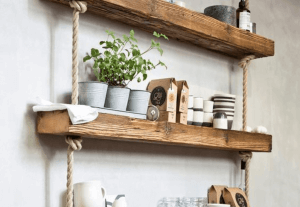
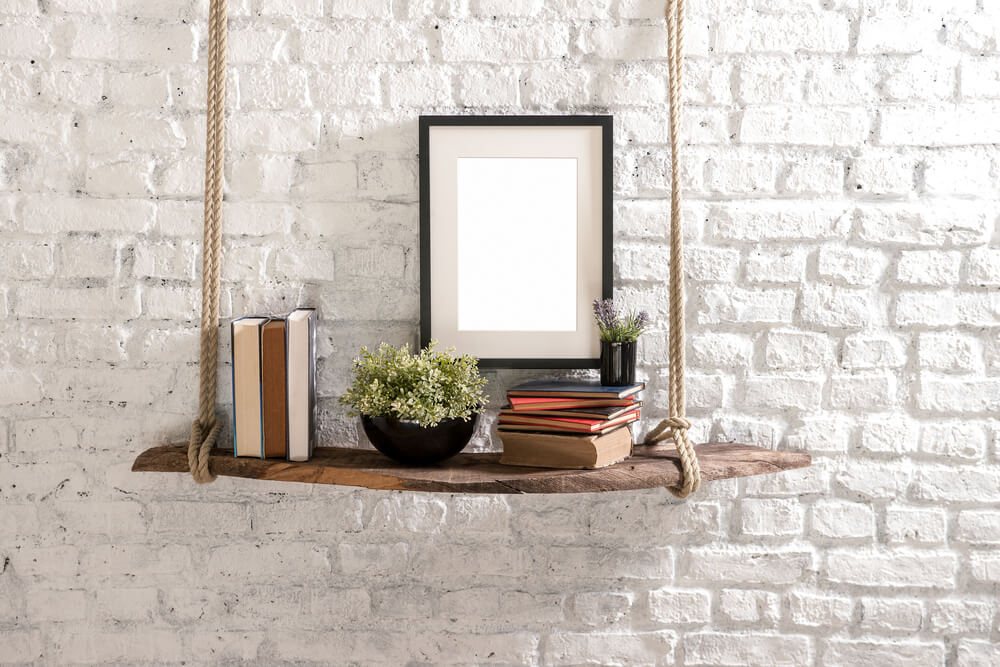
Hanging rope shelves have a strong presence in interior design magazines. But what are they? They’re boards that hang from a ceiling or wall.
These types of shelves evoke a Mediterranean decor thanks to the rope they use. But they can be quite versatile and fit into any setting. What do you need to make your own? You’ll only need the following materials:
- Wooden boards: the size will depend on how big you want your shelf to be.
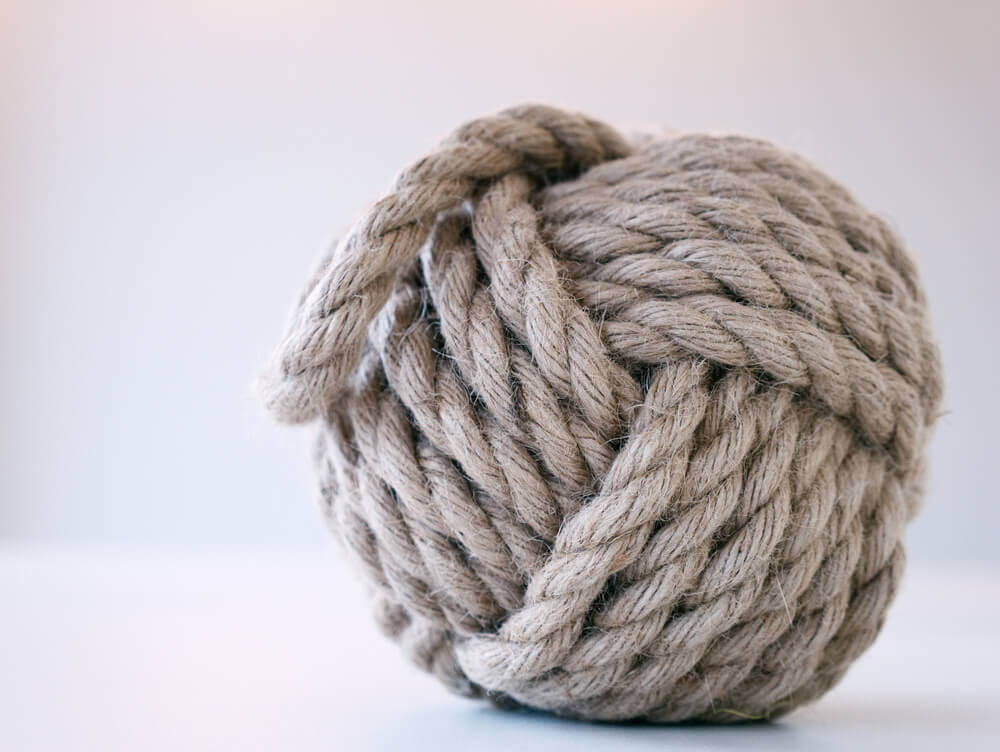
- Rope.
- 2 hooks or rings.
- Paint or varnish.
- Drill and sandpaper.
Step 1: designing and planning
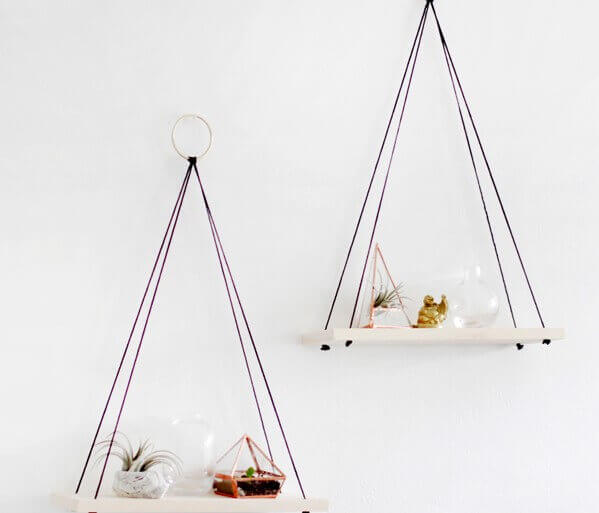
First things first, you need to design your shelf. There are many ways to do this, but you need to have a clear idea of your measurements, colors, and materials. Try following this design:
- Three wooden boards, but feel free to use more or less depending on what you want.
- Hemp rope for a natural, ecological look. Climbing ropes are also another option. If you’re looking for a younger or more urban design, try chains instead of ropes.
- Varnish for a stronger artisan feel. You can also use colors to brighten the decor or simply leave the wood as it is.
Step 2: preparing the wood
Preparing the wooden shelves is the most important step because they will be the central feature.
First, cut the shelves down to the right size. You can either buy them already cut to your measurements or you can reuse a pallet and cut them yourself.
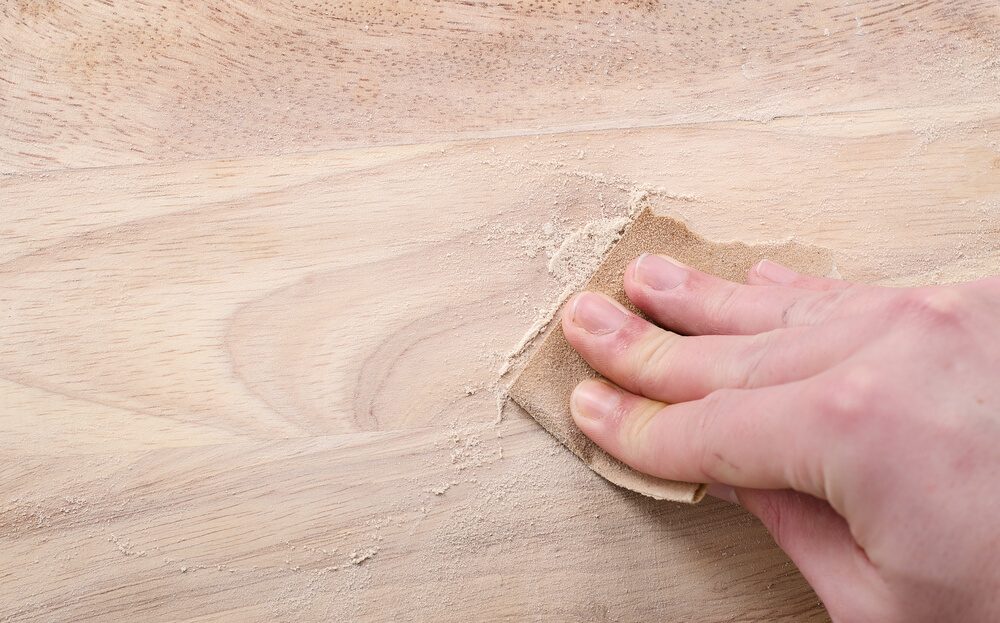
Once you have your wooden boards, sand them to eliminate any splinters. Next, make two holes at each end. The holes should be big enough for the rope to pass through.
Lastly, apply a coat of varnish. Varnish will help keep your shelves clean and in good condition. It’ll prevent dust from easily accumulating on the surface.
Home projects can help you battle stress and improve your home.
Step 3: assemble the shelves
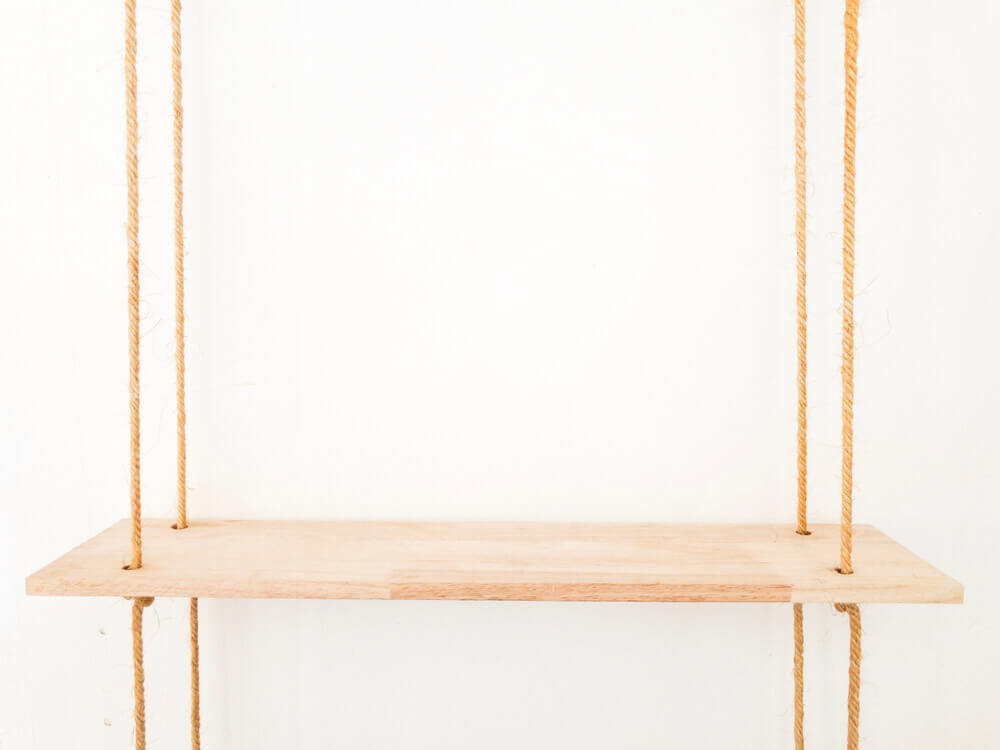
Once your wooden boards are dry, you can move on to set up the shelves. It’s simple: you just have to pass the rope through the holes. Adjust the height of the boards by making a knot beneath them.
We recommend asking for help when you carry out this step. You need to make sure that the shelves hang evenly and are straight. Applying a little weight on top of the board will help ensure good placement.
Lastly, make a knot underneath the boards to set them at the desired height. The knots will also keep them from sliding down.
Step 4: set up your hanging rope shelf
Once you’ve finished assembling your hanging rope shelf, hang it from a wall or ceiling with some hooks. To put in the hooks, you’ll need a drill. This will ensure that your hooks are securely in place.
To wrap up, hanging rope shelves are a simple project that doesn’t require too much effort. You can find the materials easily and can finish in a reasonable amount of time. Make your own today!
In our post today, we’re diving into a fun and original project: make your own hanging rope shelf. It’s a simple project that you can do all by yourself and you won’t need a big budget.
Shelves are crucial for homes. They help your organize your belongings and decorate rooms at the same time. Shelves also showcase your special memories, decorative accessories, photographs, books, etc.
They come in a huge variety. You can find shelves in different sizes and styles, for any context or room and they can add a subtle, original decor to any space.
Hanging rope shelf
Hanging rope shelves have a strong presence in interior design magazines. But what are they? They’re boards that hang from a ceiling or wall.
These types of shelves evoke a Mediterranean decor thanks to the rope they use. But they can be quite versatile and fit into any setting. What do you need to make your own? You’ll only need the following materials:
- Wooden boards: the size will depend on how big you want your shelf to be.
- Rope.
- 2 hooks or rings.
- Paint or varnish.
- Drill and sandpaper.
Step 1: designing and planning
First things first, you need to design your shelf. There are many ways to do this, but you need to have a clear idea of your measurements, colors, and materials. Try following this design:
- Three wooden boards, but feel free to use more or less depending on what you want.
- Hemp rope for a natural, ecological look. Climbing ropes are also another option. If you’re looking for a younger or more urban design, try chains instead of ropes.
- Varnish for a stronger artisan feel. You can also use colors to brighten the decor or simply leave the wood as it is.
Step 2: preparing the wood
Preparing the wooden shelves is the most important step because they will be the central feature.
First, cut the shelves down to the right size. You can either buy them already cut to your measurements or you can reuse a pallet and cut them yourself.
Once you have your wooden boards, sand them to eliminate any splinters. Next, make two holes at each end. The holes should be big enough for the rope to pass through.
Lastly, apply a coat of varnish. Varnish will help keep your shelves clean and in good condition. It’ll prevent dust from easily accumulating on the surface.
Home projects can help you battle stress and improve your home.
Step 3: assemble the shelves
Once your wooden boards are dry, you can move on to set up the shelves. It’s simple: you just have to pass the rope through the holes. Adjust the height of the boards by making a knot beneath them.
We recommend asking for help when you carry out this step. You need to make sure that the shelves hang evenly and are straight. Applying a little weight on top of the board will help ensure good placement.
Lastly, make a knot underneath the boards to set them at the desired height. The knots will also keep them from sliding down.
Step 4: set up your hanging rope shelf
Once you’ve finished assembling your hanging rope shelf, hang it from a wall or ceiling with some hooks. To put in the hooks, you’ll need a drill. This will ensure that your hooks are securely in place.
To wrap up, hanging rope shelves are a simple project that doesn’t require too much effort. You can find the materials easily and can finish in a reasonable amount of time. Make your own today!


