Make a Wooden Shoe Rack for Your Children

In our post today, we’d like to give you some pointers for making a wooden shoe rack for kids. Your children will thank you for it and you’ll feel accomplished after having made a piece of furniture with your own hands.
If you’re a fan of DIY, “do it yourself”, this wooden shoe rack is a great thing to make. It’s also a good way to spend time with family: your little ones can give you a hand– which they’ll just love!
Just as we’ve mentioned in past posts, recycled materials are becoming popular decor options. Pallets, old fruit crates… we can use them all to make our own furniture and accessories from scratch.
Of course, you can always buy wooden boards as well. It all depends on your personal preferences and what kind of finished result you want; in any case, it should always match the bedroom’s style.
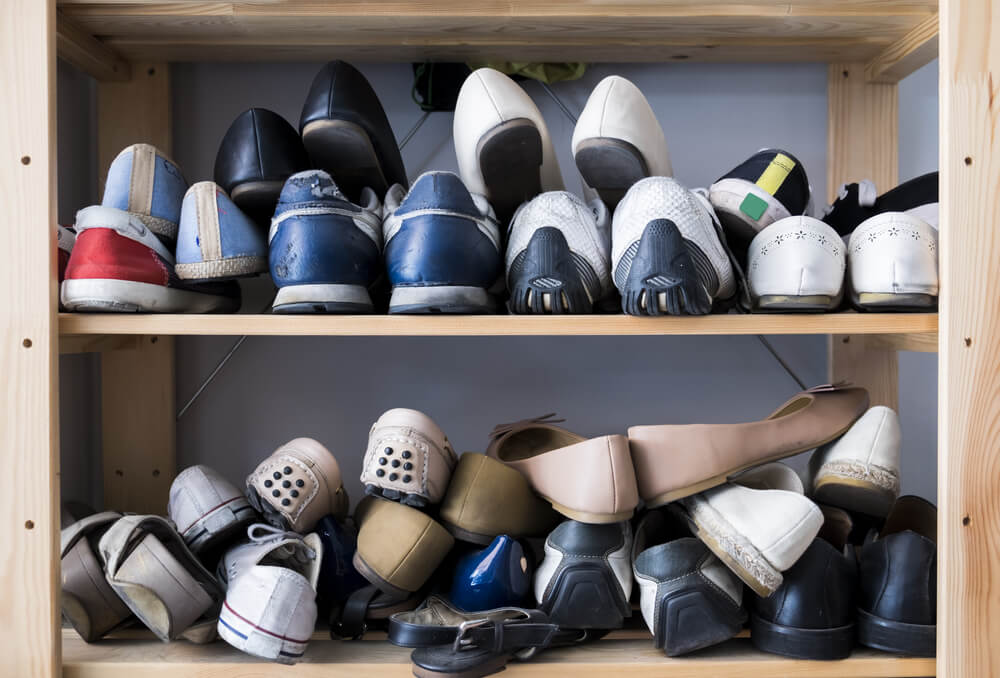
Keeping a shoe rack in your children’s room will also free up space in their closets or under their beds, where plastic bins of shoes are often kept. The shoe racks would also look great as decor.
There are plenty of ways to make a wooden shoe rack. In our post today, we’ll go over two ways that are both quite simple.
How to make a wooden shoe rack for your children’s rooms
1. Fruit crates
First, find your fruit crates. Next, you’ll likely need to give them a light coat of varnish and restoration job. Use crates that are more or less the same size to create a balanced shoe rack.
With our project, you’ll get the most out of your crates’ life. Measure out their dimensions, as well as the dimensions of the wall where you want them.
Then, just start setting them up. Putting them horizontally is the most typical set-up. If they’re a standard size, you can use two or three as a base and add another row on top.

Try to keep the shoe rack low so that your children can reach the highest row without any help. One box will be able to hold at least four pairs of shoes, so two rows will be more than sufficient.
If you want to make the shoe rack for adults, consider a taller structure, using some parts as a normal shelf as well.
Or, if you’re using crates that are wide enough– or if you’re only going to put away smaller shoes– you can use a shelf in each crate and divide the space into two rows.
With an added shelf, you can increase the storage capacity of each crate. Just fix a nail into each vertical side of the crate to hold a wooden board.
Make sure to fix the crates onto a wall and even to each other. By anchoring them, they won’t fall over when your children try grabbing their shoes from a higher row.
2. Pallet shoe rack
In some of our former posts, we’ve talked about using recycled materials for interior decor. Pallets are a great example. These days, we’re seeing them as headboards, bedsteads, tables, etc.
When placed vertically onto the wall, they barely take up any space. Use up to two pallets as they’re quite large, to make a shoe rack.
Securely attach them to the wall, especially their upper sections. Also, if you’re reusing pallets, remember to sand them down to remove any splinters.
If there’s extra space, you can use it to hold a plant, like a cactus, on one of the rows for a natural decor and hint of color.
You can also reuse fruit crates and pallets for many other home decor projects: magazine racks, organizers, and furniture.

Personalize your wooden shoe rack with your little ones
The last step is decorating your new wooden shoe rack along with the help of your little ones. They’ll have a blast! Prior to getting started, you should have sanded and varnished the entire rack.
Then, you can start painting, making sure the color matches the room’s decor. For children’s rooms, painting the rack colorfully and mixing it with white will look great.
Or, you could also use stencils to paint on fun designs like footprints, decorating each one in a different way. Try livening up the rack with small string lights or another accessory that your kids make. Every detail will help make your wooden shoe rack really original.


