How to Make A Wooden Playhouse for Your Kids

A wooden playhouse is every child’s dream, giving them their very own space where they can play with their friends and make new memories. Whether a special occasion is coming up or you simply want to surprise your kids, here you’ll find a step-by-step guide for making a fantastic DIY playhouse.
The first thing you need to consider before you start is that you must have at least some basic carpentry knowledge and the right set of tools.
Trying to do this project without the necessary skills or tools can be very dangerous – for you and your children. Without them, there is a high chance that you may hurt yourself, and the structure is unlikely to be safe for use.
With that warning in mind, let’s discover the steps you need to follow to make your children’s new favorite toy.
1. Take measurements and draw sketches

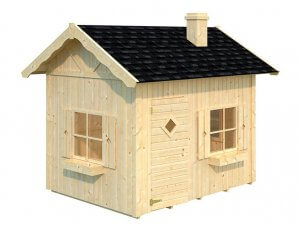
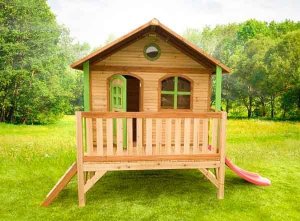
The first thing you need to do is measure the spot you’ve chosen for your playhouse. You can then go on to make a small sketch of the structure you’re going to make, making a note of all the measurements. You don’t have to make an especially detailed drawing- you simply need to have a clear idea of the size, the shape, and the materials you’re going to use. Here you’ll find a few different ideas which might give you some inspiration.
2. Cut your wooden planks to make your frame
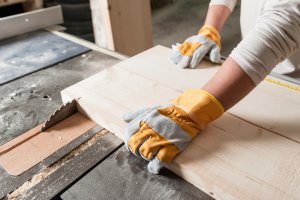
The next step is to begin cutting your timber, using your sketch to make sure it’s the right size. You can then start making your frame. You’ll need four pieces of timber for the base, four for each corner, and four for the top of the frame. You’ll then need to make all the additional features of your playhouse, such as the window and door frames.
3. Assembly prep
Once you’ve cut all the timber down to size, you need to sand it to remove any splinters and imperfections in the wood. Remember, this is for your children, so it needs to be safe, and risk-free.
Once you’ve sanded the wood, mark all the points where you’ll need to drill in order to attach and assemble your structure. Marking the spot with a pencil will make things much easier when it comes to putting your playhouse together.
Using a drill, make the necessary holes in the wood, making sure they are large enough for your screws or nails. Clean the surface after making each hole to ensure it’s ready for assembly.
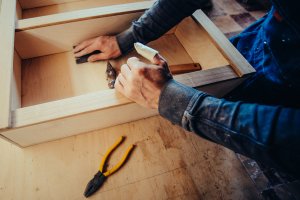
4. Assembling your wooden playhouse
Insert a nail into each of the holes. To make sure your playhouse is totally secure, you can also use specialist wood glue. Test each piece of wood as you work, to make sure it is firmly attached before moving on to the next component.
Once you’re done, leave it to dry completely. This step is really important, as improper assembly could be dangerous for your children.
5. Making the walls for your wooden playhouse
Now that your wooden playhouse has a basic structure, it’s time to put up the walls. To do this, you’ll need wooden panels and a saber saw. Measure the size of each of the walls and mark out where you need to cut.
Using the saber saw, cut the panels down to size. Next, use liquid adhesive to glue them to the structure. This is the easiest way to make the walls of your playhouse. Though you can also use wooden planks to create your walls, this is usually much more expensive and requires a greater level of skill and knowledge. The same goes for the doors and walls.
This step-by-step guide is the easiest way to make a wooden playhouse for your kids. If you have more experience with carpentry and DIY, or you want to make a more elaborate playhouse, you can create a larger, more complex design, complete with a porch and other features.
Making your own wooden playhouse doesn’t have to be complicated. However, it’s important to remember that you do need basic knowledge of woodworking. At the end of the day, the safety of your children is what’s most important.