Create a Distressed Paint Effect for Wooden Furniture

For a vintage or rustic setting, you can use different techniques, like distressed wood, that can fit a piece of furniture into the rest of the decor. You won’t need to spend too much but you will need the motivation to get started! In our post today, check out our tips on creating a distressed paint effect on the wooden furniture you already have.
But what is distressed wood?
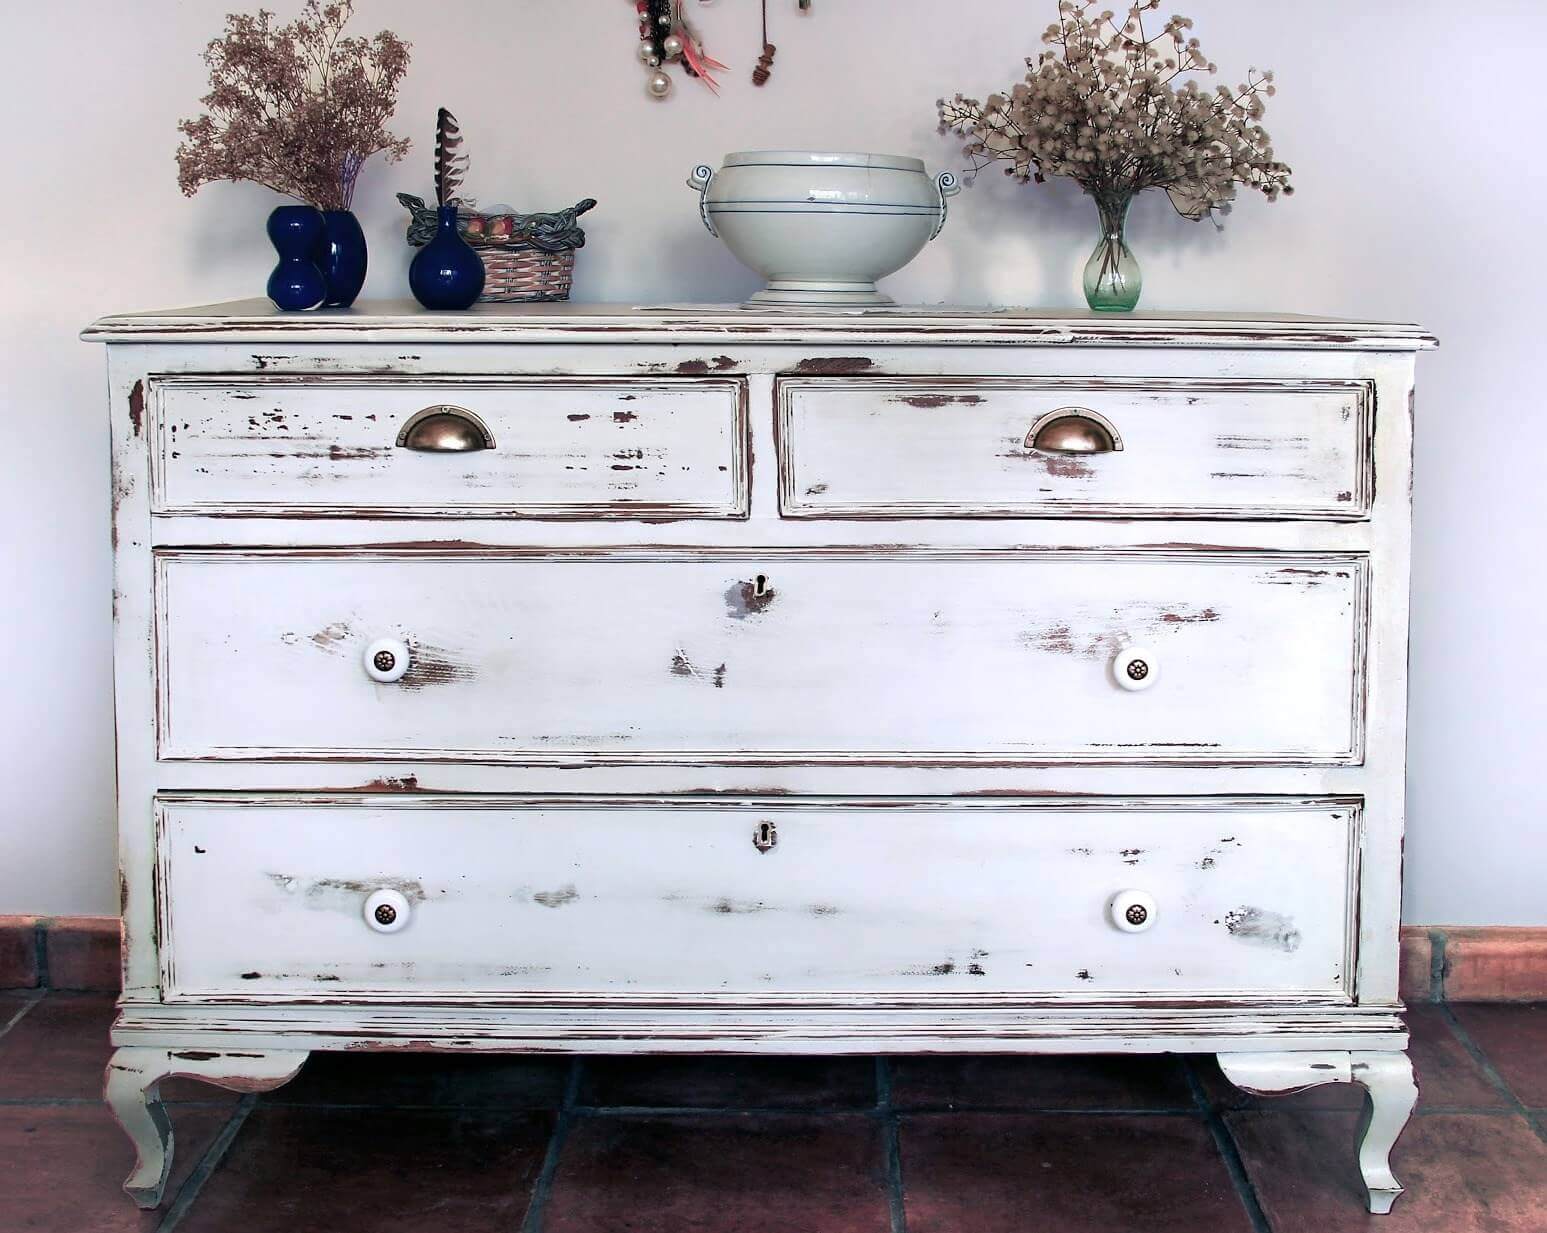
It might be a little hard to believe but the world of home decor has found a use for everything, even objects in a sorry state. Today, the furniture pieces that might have been thrown out are now used in chic settings and are the centerpieces in decor magazines.
They’re so trendy that we even treat new furniture pieces to give it an antique air. Distressing wood furniture is essentially removing paint layers to create an aged effect. You can use it for chairs, tables, boxes, trays, doors… there isn’t just one sole technique but rather, many.
How to successfully distress wood
If you want to create a vintage setting, you don’t need to look for furniture that has stood the test of time… You can create a very similar effect by distressing wood, which is a process that basically involves sanding and painting.
1. Vinegar and water
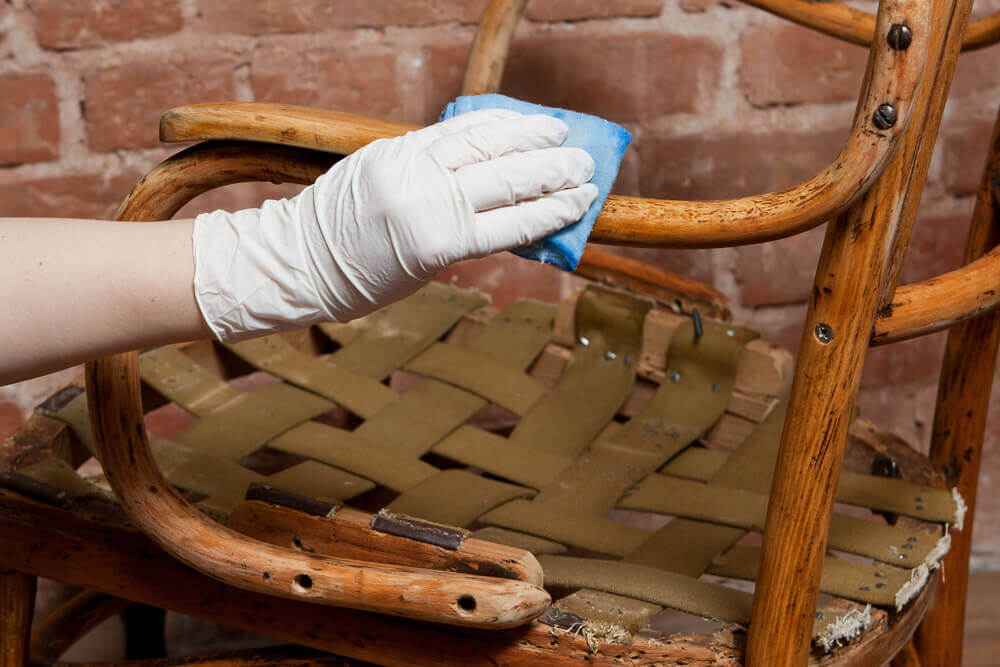
The best part about this technique is that it doesn’t produce the typical sawdust that results from sanding and it also doesn’t require an aggressive approach. You’ll need white vinegar, water, a cotton cloth, and paint. First, paint the surface that you want to strip in the color of your choice. Let it dry. Then, mix equal parts of water and vinegar and dip the cloth. Use the cloth to rub off the painted surface and leave parts of the wood exposed.
2. Sponge and wax
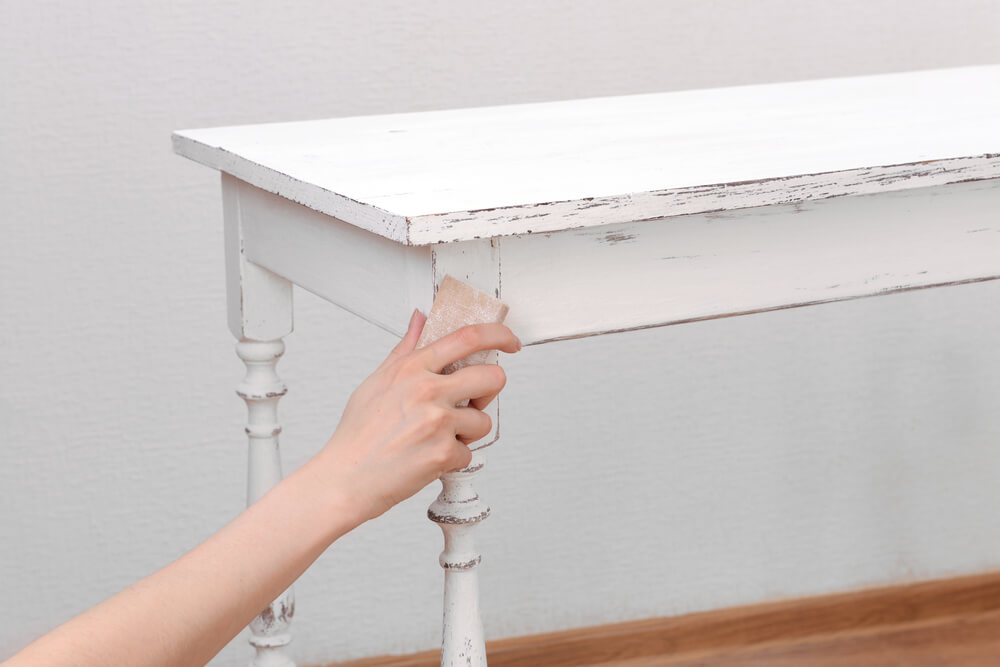
The shabby chic technique is another way to create a distressed wood effect and it’s pretty simple. While it requires sandpaper, you won’t need to sand too much. You’ll also need acrylic paint, a paintbrush or sponge and colorless wax.
First, paint your wooden piece of furniture and let it dry completely. Then, apply the colorless wax with a paintbrush or sponge. Gently sand the areas you want to age. Lastly, apply a thin layer of transparent varnish to help the paint last.
3. Petroleum jelly
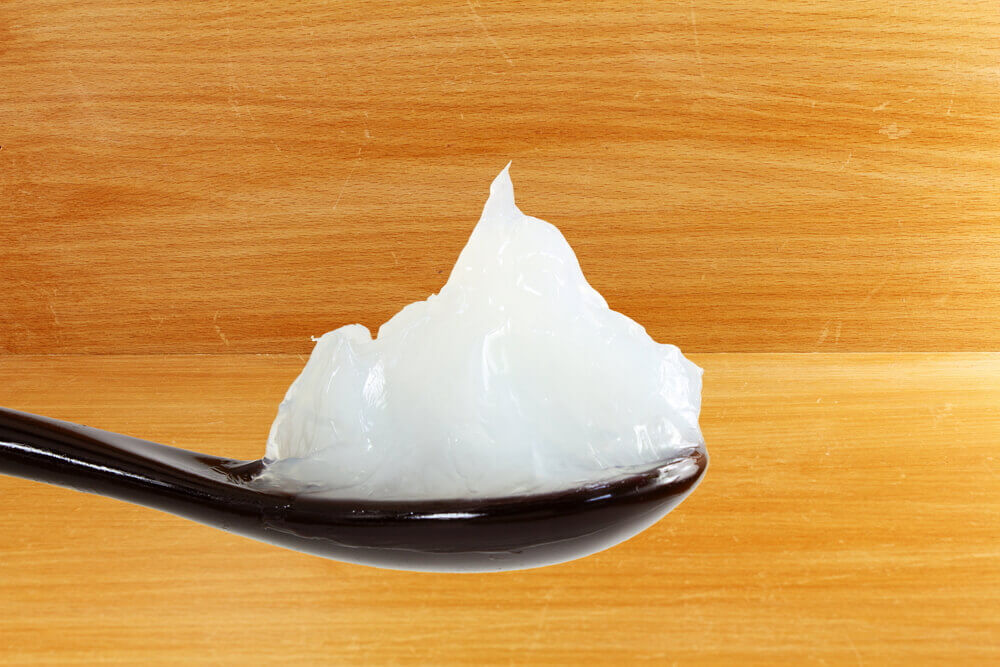
Petroleum jelly works best for bigger pieces of furniture, such as tables. You can create the distressed wood effect in a short amount of time. You’ll need solid petroleum jelly, a cotton cloth and paint.
Spread the jelly onto the areas where you want to create the effect with a paintbrush or your fingertips. Leave it to dry and after, generously apply paint to the area. After two or three hours, wipe the area with the cotton cloth and the paint will lift right off.
4. Varnish and sandpaper
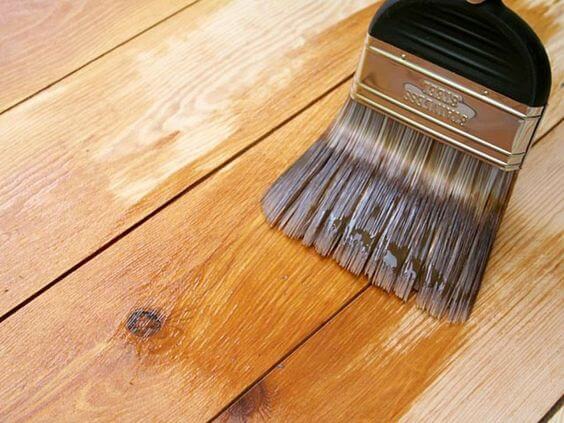
For this method, you’ll first need to stain the wood with varnish and then paint it. You’ll need: wood-colored water-based ink, chalk paint, a paintbrush and fine sanding block.
First, stain the furniture evenly. Leave it to try for two hours. Then, apply a coat chalk paint and leave it to dry again. Lastly, gently sand the surface – more abrasively in the areas where you want to highlight the distressed effect.
5. Candle
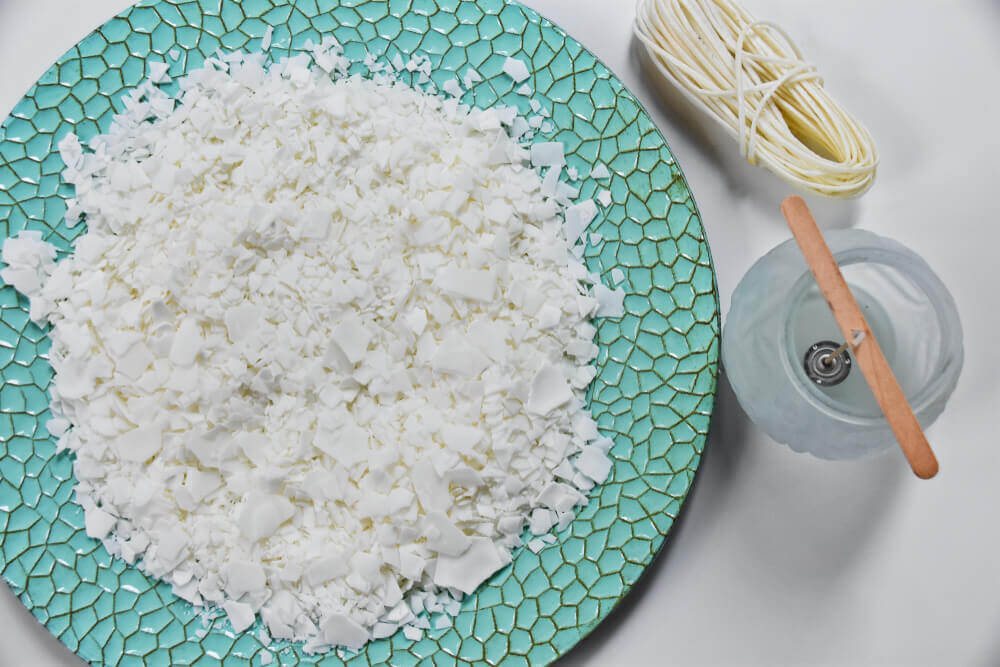
This is one of the more popular methods for distressing wood. You’ll need a white candle, sandpaper, and paint in your choice of color. First, rub the candle over the entire surface of your project, making sure to really cover the borders and corners (which is where furniture usually looks especially weathered).
After, apply one coat of paint. Once dry, sand everything down to remove excess paint.
6. Paint scraper
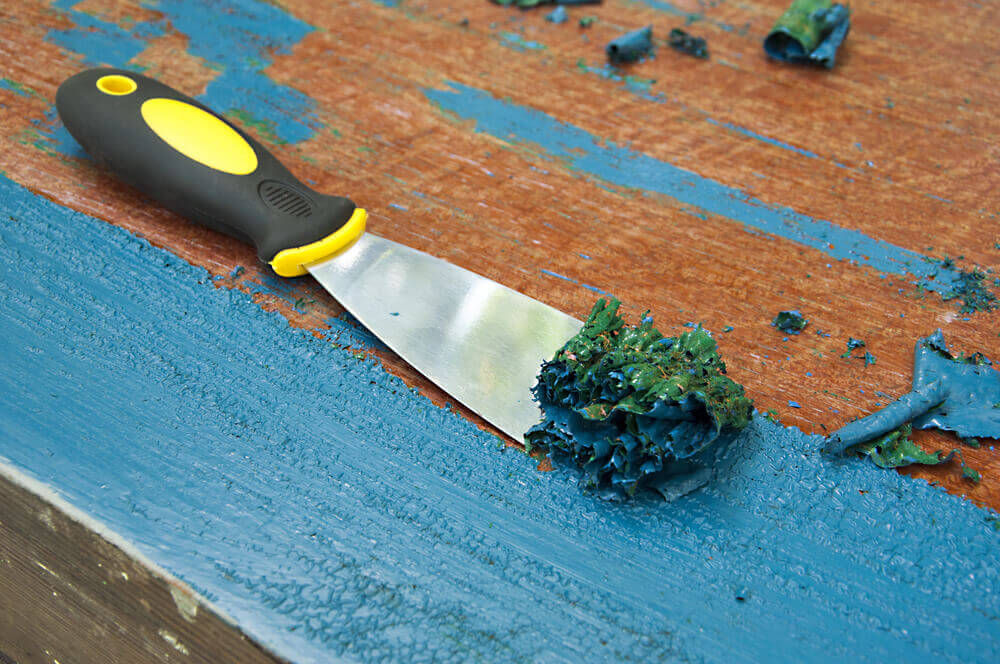
Our last method might very well be the most straight-forward approach on our list, but we only recommend it for large surfaces. Paint your project in the color of your choice. After, use a paint scraper to remove strips of paint and expose the wood below. If you want a distressed wood effect, these methods are your best options. Time to get to work!
For a vintage or rustic setting, you can use different techniques, like distressed wood, that can fit a piece of furniture into the rest of the decor. You won’t need to spend too much but you will need the motivation to get started! In our post today, check out our tips on creating a distressed paint effect on the wooden furniture you already have.
But what is distressed wood?

It might be a little hard to believe but the world of home decor has found a use for everything, even objects in a sorry state. Today, the furniture pieces that might have been thrown out are now used in chic settings and are the centerpieces in decor magazines.
They’re so trendy that we even treat new furniture pieces to give it an antique air. Distressing wood furniture is essentially removing paint layers to create an aged effect. You can use it for chairs, tables, boxes, trays, doors… there isn’t just one sole technique but rather, many.
How to successfully distress wood
If you want to create a vintage setting, you don’t need to look for furniture that has stood the test of time… You can create a very similar effect by distressing wood, which is a process that basically involves sanding and painting.
1. Vinegar and water

The best part about this technique is that it doesn’t produce the typical sawdust that results from sanding and it also doesn’t require an aggressive approach. You’ll need white vinegar, water, a cotton cloth, and paint. First, paint the surface that you want to strip in the color of your choice. Let it dry. Then, mix equal parts of water and vinegar and dip the cloth. Use the cloth to rub off the painted surface and leave parts of the wood exposed.
2. Sponge and wax

The shabby chic technique is another way to create a distressed wood effect and it’s pretty simple. While it requires sandpaper, you won’t need to sand too much. You’ll also need acrylic paint, a paintbrush or sponge and colorless wax.
First, paint your wooden piece of furniture and let it dry completely. Then, apply the colorless wax with a paintbrush or sponge. Gently sand the areas you want to age. Lastly, apply a thin layer of transparent varnish to help the paint last.
3. Petroleum jelly

Petroleum jelly works best for bigger pieces of furniture, such as tables. You can create the distressed wood effect in a short amount of time. You’ll need solid petroleum jelly, a cotton cloth and paint.
Spread the jelly onto the areas where you want to create the effect with a paintbrush or your fingertips. Leave it to dry and after, generously apply paint to the area. After two or three hours, wipe the area with the cotton cloth and the paint will lift right off.
4. Varnish and sandpaper

For this method, you’ll first need to stain the wood with varnish and then paint it. You’ll need: wood-colored water-based ink, chalk paint, a paintbrush and fine sanding block.
First, stain the furniture evenly. Leave it to try for two hours. Then, apply a coat chalk paint and leave it to dry again. Lastly, gently sand the surface – more abrasively in the areas where you want to highlight the distressed effect.
5. Candle

This is one of the more popular methods for distressing wood. You’ll need a white candle, sandpaper, and paint in your choice of color. First, rub the candle over the entire surface of your project, making sure to really cover the borders and corners (which is where furniture usually looks especially weathered).
After, apply one coat of paint. Once dry, sand everything down to remove excess paint.
6. Paint scraper

Our last method might very well be the most straight-forward approach on our list, but we only recommend it for large surfaces. Paint your project in the color of your choice. After, use a paint scraper to remove strips of paint and expose the wood below. If you want a distressed wood effect, these methods are your best options. Time to get to work!


