Make your Own Personalized Calendar out of Cardboard
Calendars are really popular household objects. Many people use them to note down important dates such as birthdays or anniversaries, or any other important information they don’t want to forget. In this article, we’ll give you some fun ideas for creating your own personalized calendar.
If you need a large calendar with multiple pages, we recommend using cardboard from old boxes. Because it’s thicker than ordinary card, your calendar will be much stronger. So, let’s take a look at how to create your own personalized calendar.
Choosing the cardboard
Cardboard is a material that’s really easy to get hold of. You can recycle old boxes that you no longer use, or buy a few sheets of cardboard from any good arts and crafts store.
You’ll be using the cardboard to make the cover for your personalized calendar. You could choose to have two covers, almost like a book, or just a front cover. Choose whichever option you like best.

What you’ll need
While there are several different options when it comes to making your own personalized calendar, these are the main materials you’ll need, no matter what method you decide to use:
- Cardboard
- Box cutters
- Scissors
- Ruler
- White paper
- Colored card
- Stickers (optional)
- Hole punch
- Hooks or other wall fixtures
- Ball-point pen
- Felt tip pen
Choose the format
When it comes to deciding on a format for your calendar, there are several different options to choose from. Here are the two most popular options:
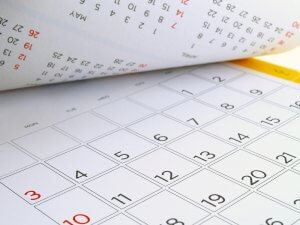
Monthly calendars
You could choose to make a simple monthly calendar, ie. each page should show a different month. Obviously, you’ll need 12 pages, one for each month of the year.
If you only need a calendar where you can check important dates and make the occasional note, this is the best option for you. If, on the other hand, you want a more detailed calendar, this format probably won’t offer you the amount of space you need.
Weekly calendar
The weekly calendar format offers more space, giving you plenty of room to add detailed information to help you organize your day-to-day life.
Both the monthly calendar and the weekly calendar are really easy to make. First, take a pen and a ruler, and make a table. If you’ve decided to make a weekly calendar, you’ll need seven columns for the seven days of the week. If you’ve chosen the monthly calendar, you’ll need to have enough squares for every day of the month.
Doing this by hand will take time, but whether you’ve gone for the monthly or the weekly calendar, it is fairly simple. You can make whatever size you want, and decorate it how you like.
However, if you don’t have much time, you could simply look online to find a format you like (whether monthly or weekly) and print out the size you want. Then you can decorate as you wish.
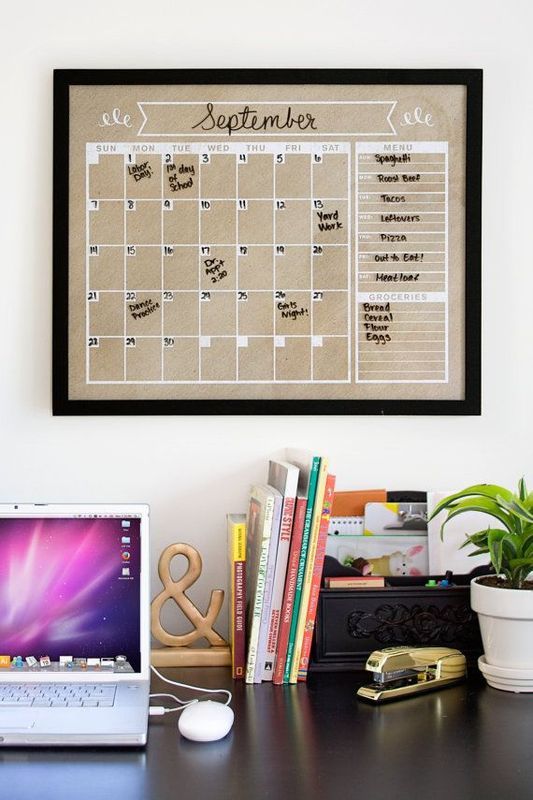
If you want to make a large calendar for your bedroom walls or workspace, try to measure the wall first to work out what size you need. A square or rectangular calendar is the easiest format to make. However, if you have more time and patience, you could come up with a more interesting shape for your calendar.
Mark the cardboard so you know where to cut
This step is fundamental. Remember, if you want to make a front and back cover for your personalized calendar, you’ll need two pieces of cardboard the same size. If you only want a front cover, obviously you’ll only need one. Mark the surface of the cardboard with your pen and use the box cutters to cut along the line. And there you have it!
Decorate your personalized calendar covers
Once you’ve got your cover, you can then go on to decorate it. You could cover it with colored card, decorate it with your own artwork or stickers, or simply write “2019” in large, bright numbers. This is where you can really personalize your calendar.
If you’re planning on hanging your calendar on the wall, leave a margin of approximately 1 inch. Use the hole punch to make one or two holes at the top. To get the holes in the center, measure and mark the surface of your calendar with a pen.
Decorate the pages
As we’ve already mentioned, whether you’ve made the pages of your calendar by hand or printed them off the internet, you can decorate them to add a bit of color. One great alternative is to decorate each month with images that represent the different seasons.
Using the same measurements that you used to make the hole in the front cover, make a hole in each of the other pages of your calendar. Your calendar is almost done!
Add a hook or hanger
The fixture you use to hang your personalized calendar is completely up to you. If you don’t have a metal hook or hanger at home, you probably have a piece of string you could use. Thread the hook or string through the holes… and there you have it! Your very own personalized calendar.
Calendars are really popular household objects. Many people use them to note down important dates such as birthdays or anniversaries, or any other important information they don’t want to forget. In this article, we’ll give you some fun ideas for creating your own personalized calendar.
If you need a large calendar with multiple pages, we recommend using cardboard from old boxes. Because it’s thicker than ordinary card, your calendar will be much stronger. So, let’s take a look at how to create your own personalized calendar.
Choosing the cardboard
Cardboard is a material that’s really easy to get hold of. You can recycle old boxes that you no longer use, or buy a few sheets of cardboard from any good arts and crafts store.
You’ll be using the cardboard to make the cover for your personalized calendar. You could choose to have two covers, almost like a book, or just a front cover. Choose whichever option you like best.
What you’ll need
While there are several different options when it comes to making your own personalized calendar, these are the main materials you’ll need, no matter what method you decide to use:
- Cardboard
- Box cutters
- Scissors
- Ruler
- White paper
- Colored card
- Stickers (optional)
- Hole punch
- Hooks or other wall fixtures
- Ball-point pen
- Felt tip pen
Choose the format
When it comes to deciding on a format for your calendar, there are several different options to choose from. Here are the two most popular options:
Monthly calendars
You could choose to make a simple monthly calendar, ie. each page should show a different month. Obviously, you’ll need 12 pages, one for each month of the year.
If you only need a calendar where you can check important dates and make the occasional note, this is the best option for you. If, on the other hand, you want a more detailed calendar, this format probably won’t offer you the amount of space you need.
Weekly calendar
The weekly calendar format offers more space, giving you plenty of room to add detailed information to help you organize your day-to-day life.
Both the monthly calendar and the weekly calendar are really easy to make. First, take a pen and a ruler, and make a table. If you’ve decided to make a weekly calendar, you’ll need seven columns for the seven days of the week. If you’ve chosen the monthly calendar, you’ll need to have enough squares for every day of the month.
Doing this by hand will take time, but whether you’ve gone for the monthly or the weekly calendar, it is fairly simple. You can make whatever size you want, and decorate it how you like.
However, if you don’t have much time, you could simply look online to find a format you like (whether monthly or weekly) and print out the size you want. Then you can decorate as you wish.
If you want to make a large calendar for your bedroom walls or workspace, try to measure the wall first to work out what size you need. A square or rectangular calendar is the easiest format to make. However, if you have more time and patience, you could come up with a more interesting shape for your calendar.
Mark the cardboard so you know where to cut
This step is fundamental. Remember, if you want to make a front and back cover for your personalized calendar, you’ll need two pieces of cardboard the same size. If you only want a front cover, obviously you’ll only need one. Mark the surface of the cardboard with your pen and use the box cutters to cut along the line. And there you have it!
Decorate your personalized calendar covers
Once you’ve got your cover, you can then go on to decorate it. You could cover it with colored card, decorate it with your own artwork or stickers, or simply write “2019” in large, bright numbers. This is where you can really personalize your calendar.
If you’re planning on hanging your calendar on the wall, leave a margin of approximately 1 inch. Use the hole punch to make one or two holes at the top. To get the holes in the center, measure and mark the surface of your calendar with a pen.
Decorate the pages
As we’ve already mentioned, whether you’ve made the pages of your calendar by hand or printed them off the internet, you can decorate them to add a bit of color. One great alternative is to decorate each month with images that represent the different seasons.
Using the same measurements that you used to make the hole in the front cover, make a hole in each of the other pages of your calendar. Your calendar is almost done!
Add a hook or hanger
The fixture you use to hang your personalized calendar is completely up to you. If you don’t have a metal hook or hanger at home, you probably have a piece of string you could use. Thread the hook or string through the holes… and there you have it! Your very own personalized calendar.


