Random Orbital Sanders and More...

Sanders have to be on your tool list if you enjoy doing home-improvement projects that involve tasks such as sanding wood, plastic or metal.
If you want to buy one, read our post first and learn about the different types of sanders you can find on the market.
What are random orbital sanders good for?
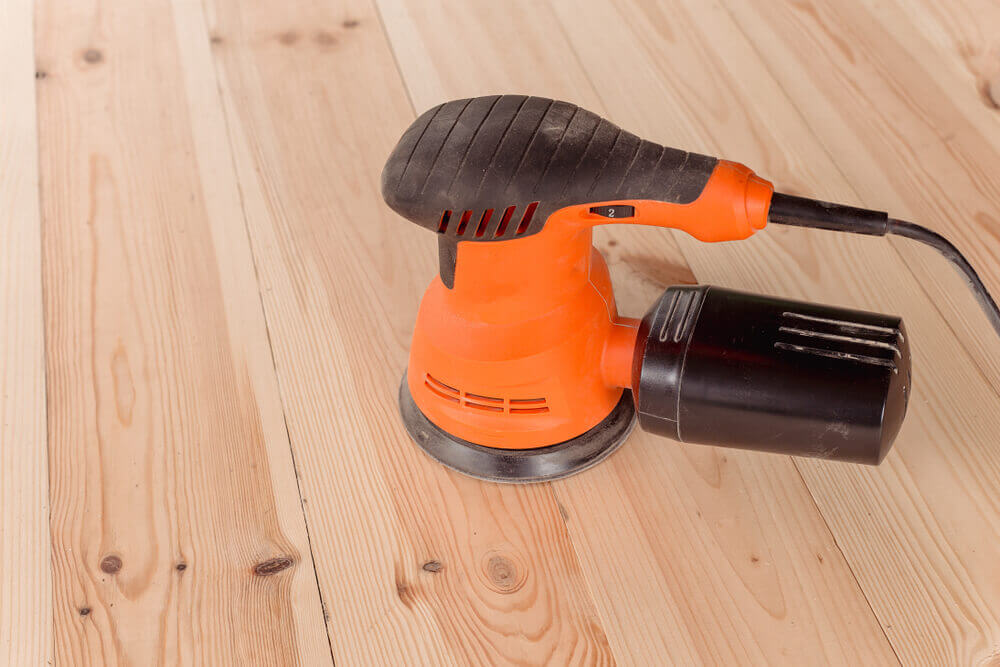
Unlike belt sanders, random orbital sanders have a special sanding pattern with tiny circles that vibrate as the disc spins. They ensure that every rough surface area is sanded down twice as much with every rotation.
Orbital sanders don’t leave behind swirly marks and will work well regardless of the direction of the wood grain.
Orbital sanders use sanding sheets and some models also include sawdust collectors. These models have a vacuum feature that gathers any dust that passes through the holes of the sheets, collecting it all into a bag or filter.
Understanding the differences between a random orbital and belt sander is important. While they both might share similarities, they’re not the same tool. The difference between them lies in the shape of the sanding pad; random orbital sanders have a round pad while belt sanders have square-shaped ones.
How do you use a sander?
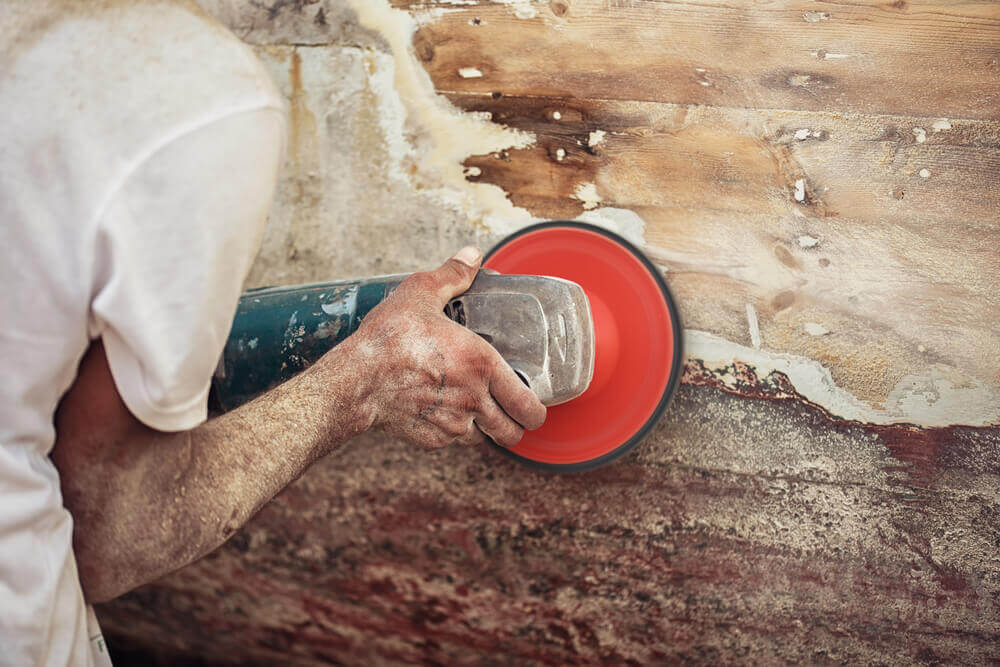
Before buying your own, you should know how to use a sander and take the time to determine if it’s a worthwhile investment or not. If you do end up investing in one, follow these steps to use it properly.
1. Fit the sanding sheets
Orbital sanders use disposable sanding sheet discs that are attached by velcro. Make sure you firmly stick the sheet in place before turning on your sander.
2. Turn on the fan
Orbital sanders have a fan or filter feature that keeps the working area clean and safe.
3. Maintain a strong grip
Use both hands at all times to prevent accidents or poor results.
4. Keep it moving constantly
Make sure to keep the movement stable and constant. In other words, don’t keep the sander over the same spot or the surface will have irregular results.
Don’t tilt your sander– always work horizontally. By keeping it upright, you’ll enjoy even, smooth results.
5. Level the surface
Once you’ve finished sanding your surface down (or when it looks about right), double check that it’s even. You will probably need to sand it again afterward to level all areas.
6. Finish with the edges
Lastly, sand the sides and edges. When you’re finished, clean your sander and make sure that you don’t feel any negative effects from having used it.
What kinds of sanders are available on the market?
In the wide world of sanders, random orbital sanders make up only one section. There are various other types that are used in a very similar manner.
The sizes, way to attach sanding sheets and base shape are the main factors that differentiate sanders. You can even find some models with triangular, rectangular or square rubber bases. Check out the different types below.
1. Belt sander
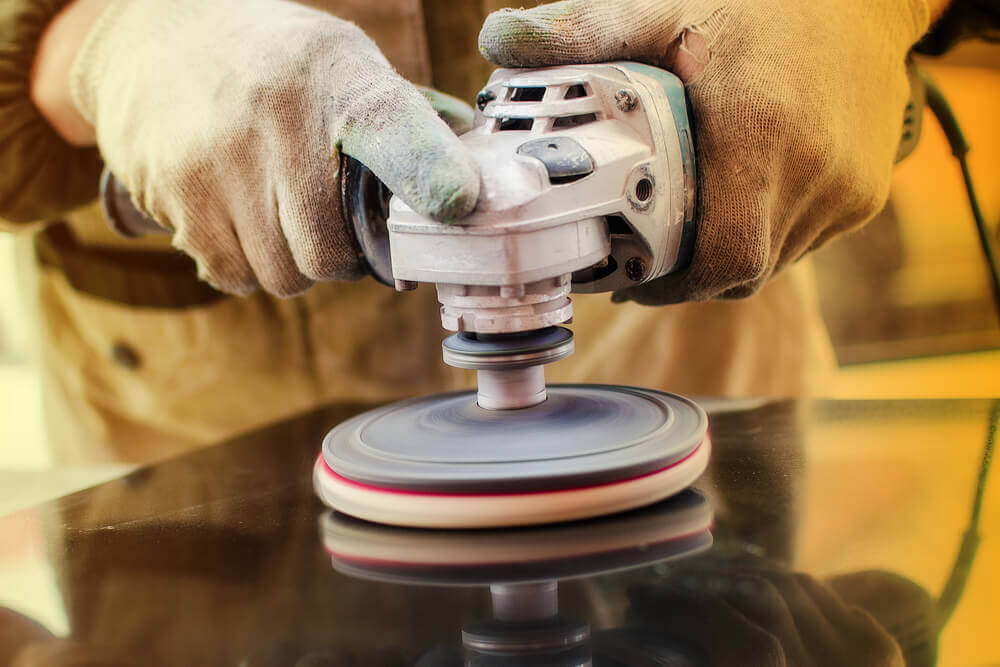
Belt sanders give great results and are affordable options. They’re perfect for people who love doing minor home projects.
2. Disc sander
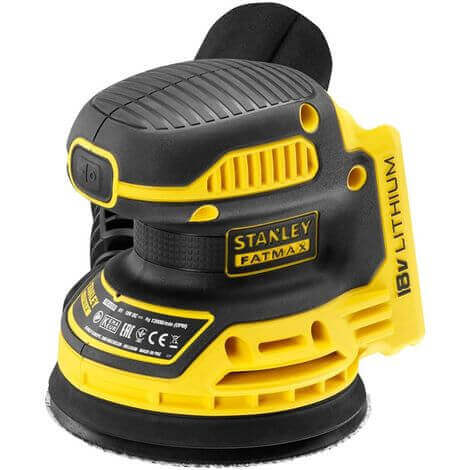
Disk sanders deliver near perfect results. They use abrasive disks that are attached by velcro and work for dry sanding projects.
3. Detail sander
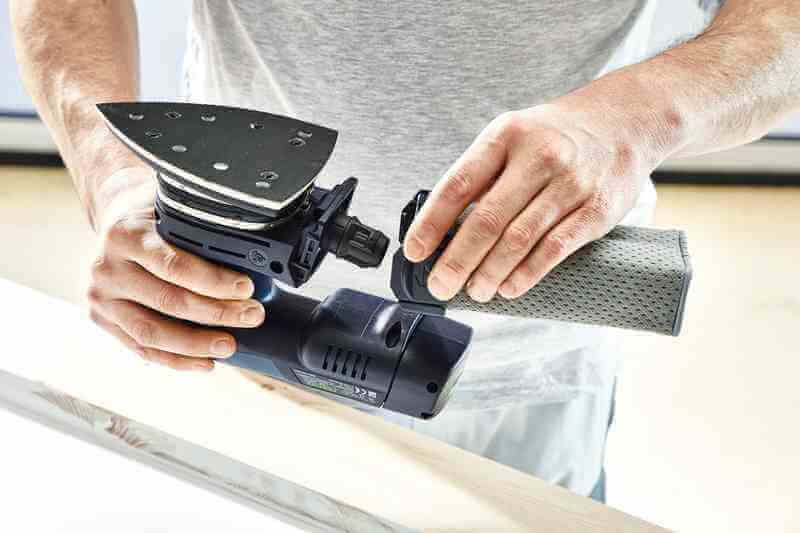
These allow you to sand hard-to-reach areas such as corners or edges, creating a smooth surface anywhere.
4. Multipurpose sander
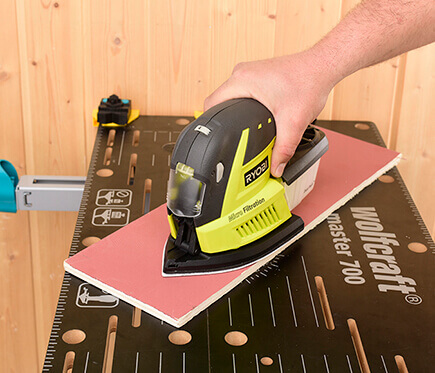
This 3-in-1 option offers all of the features of the former models. You can use it on all kinds of surfaces and materials.
5. Mouse sander
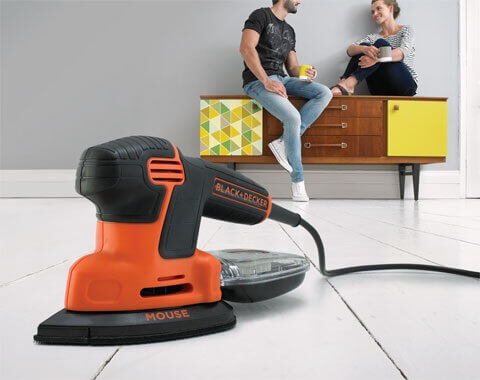
The Mouse sander is smaller in size (no bigger than your hand) and is perfect for the tightest corners.
When browsing sanders, make a note what speed each product offers, which is measured in orbits per minute (opm). The ranges of opm range from 6,000-26,000. Pick out your product to best suit the projects you want to do and the materials you plan on sanding.
Sanders have to be on your tool list if you enjoy doing home-improvement projects that involve tasks such as sanding wood, plastic or metal.
If you want to buy one, read our post first and learn about the different types of sanders you can find on the market.
What are random orbital sanders good for?

Unlike belt sanders, random orbital sanders have a special sanding pattern with tiny circles that vibrate as the disc spins. They ensure that every rough surface area is sanded down twice as much with every rotation.
Orbital sanders don’t leave behind swirly marks and will work well regardless of the direction of the wood grain.
Orbital sanders use sanding sheets and some models also include sawdust collectors. These models have a vacuum feature that gathers any dust that passes through the holes of the sheets, collecting it all into a bag or filter.
Understanding the differences between a random orbital and belt sander is important. While they both might share similarities, they’re not the same tool. The difference between them lies in the shape of the sanding pad; random orbital sanders have a round pad while belt sanders have square-shaped ones.
How do you use a sander?

Before buying your own, you should know how to use a sander and take the time to determine if it’s a worthwhile investment or not. If you do end up investing in one, follow these steps to use it properly.
1. Fit the sanding sheets
Orbital sanders use disposable sanding sheet discs that are attached by velcro. Make sure you firmly stick the sheet in place before turning on your sander.
2. Turn on the fan
Orbital sanders have a fan or filter feature that keeps the working area clean and safe.
3. Maintain a strong grip
Use both hands at all times to prevent accidents or poor results.
4. Keep it moving constantly
Make sure to keep the movement stable and constant. In other words, don’t keep the sander over the same spot or the surface will have irregular results.
Don’t tilt your sander– always work horizontally. By keeping it upright, you’ll enjoy even, smooth results.
5. Level the surface
Once you’ve finished sanding your surface down (or when it looks about right), double check that it’s even. You will probably need to sand it again afterward to level all areas.
6. Finish with the edges
Lastly, sand the sides and edges. When you’re finished, clean your sander and make sure that you don’t feel any negative effects from having used it.
What kinds of sanders are available on the market?
In the wide world of sanders, random orbital sanders make up only one section. There are various other types that are used in a very similar manner.
The sizes, way to attach sanding sheets and base shape are the main factors that differentiate sanders. You can even find some models with triangular, rectangular or square rubber bases. Check out the different types below.
1. Belt sander

Belt sanders give great results and are affordable options. They’re perfect for people who love doing minor home projects.
2. Disc sander

Disk sanders deliver near perfect results. They use abrasive disks that are attached by velcro and work for dry sanding projects.
3. Detail sander

These allow you to sand hard-to-reach areas such as corners or edges, creating a smooth surface anywhere.
4. Multipurpose sander

This 3-in-1 option offers all of the features of the former models. You can use it on all kinds of surfaces and materials.
5. Mouse sander

The Mouse sander is smaller in size (no bigger than your hand) and is perfect for the tightest corners.
When browsing sanders, make a note what speed each product offers, which is measured in orbits per minute (opm). The ranges of opm range from 6,000-26,000. Pick out your product to best suit the projects you want to do and the materials you plan on sanding.


