3 Easy Ways to Make a DIY Children's Teepee
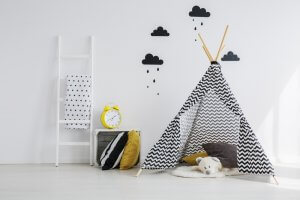
A children’s teepee is a must-have these days. Whether in their bedroom, the garden or in the playroom, they make the ultimate den where your children can play, read, and relax. Making your own teepee is a really original idea that is guaranteed to awaken your child’s imagination.
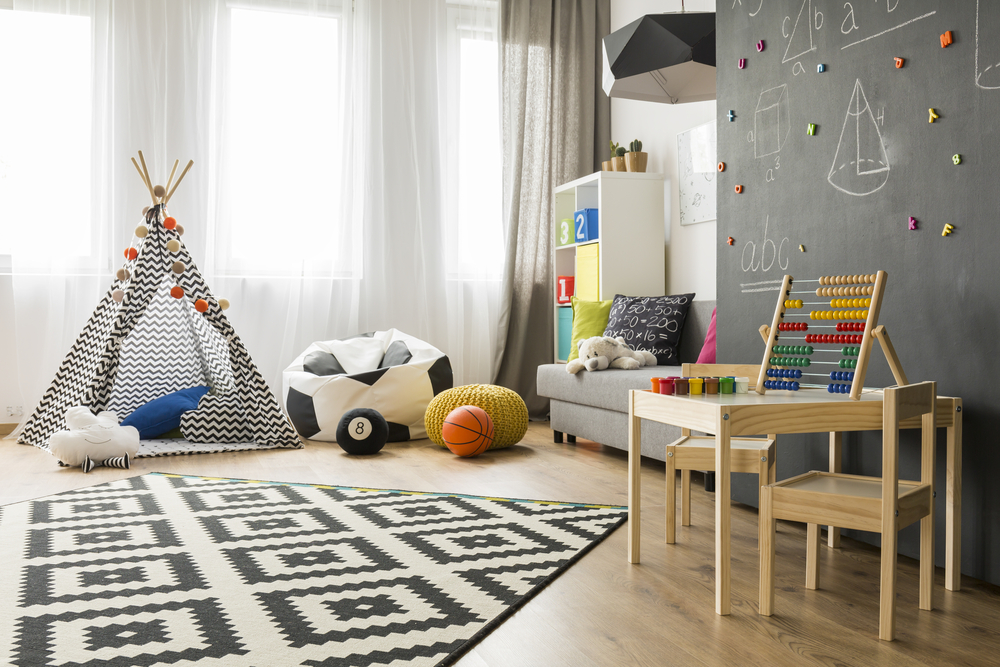
Teepees are all the rage in the world of children’s decoration. They’ll make a beautiful addition to their bedroom that they’re sure to love. They’re also a great way to teach children about other cultures and customs. After all, teepees were originally by the native Americans.
You can find all different kinds of teepees in stores, but if you want to make one yourself, all you need is a bit of time, and a touch of style. In this article, we’ll show you three very simple ways to make a children’s teepee.
1. No-sew teepee
As the name suggests, this teepee doesn’t require any sewing. All you’ll need is a bit of skill, and a few materials: 6 dowels, a pair of scissors, rope, a glue gun, a drill, colored fabric, and any decorations you want to add.
1. First, make a hole at one end of each dowel so that you can thread the rope through and attach them all together. Make sure that the knot is tight enough that the dowels no longer move. This will form the top of your teepee.
2. Now that you have the base of your teepee, you can start to cover it in fabric. Start at the top, and cover it with wide strips of fabric. Attach them to the dowels using the glue gun, and cut off any excess fabric. Work your way down, repeating this step using wider and wider pieces of fabric until you have covered the entire structure.
3. Decide where you want the door to be, and cut out a section of fabric approximately 33″ high so your children can get in and out. Then, seal the edge of the fabric with glue to stop it from fraying. Finally, add any extra details and decorations you want, and there you have it! You’ve got a fantastic teepee.
2. Classic children’s teepee
Another way to make a teepee is to cut the fabric into triangular panels and sew them together. It’s actually really easy to do. Simply choose the fabric you like best. However, if you want to make things easier for yourself, avoid choosing geometric patterns so you don’t have to line them up when you sew it together.
1. First, cut your fabric into six triangles, approximately 53″ high, and 27″ wide at the base. One of the triangles will need to serve as a door, so cut a 33″ hole in one panel, and seal the edges with silicone. You’ll also need to cut six strips of fabric approximately 3″ wide, and 59″ long, which will serve as casings for your dowels.
2. Next, attach the six triangles together, placing one of the strips of fabric in between each one (ie. you should alternate between triangle and strip). Sew up the hems, and the sides of the teepee, being careful not to sew up the dowel casings.
3. As with the first teepee we looked at, prepare the dowels, making a hole in the top of each one so you can attach them together. Slide the dowels into the casings, then thread the rope through the holes. Carefully attach them together, and there you have it! Now all that’s left to do is decorate it.
3. Decorating your children’s teepee
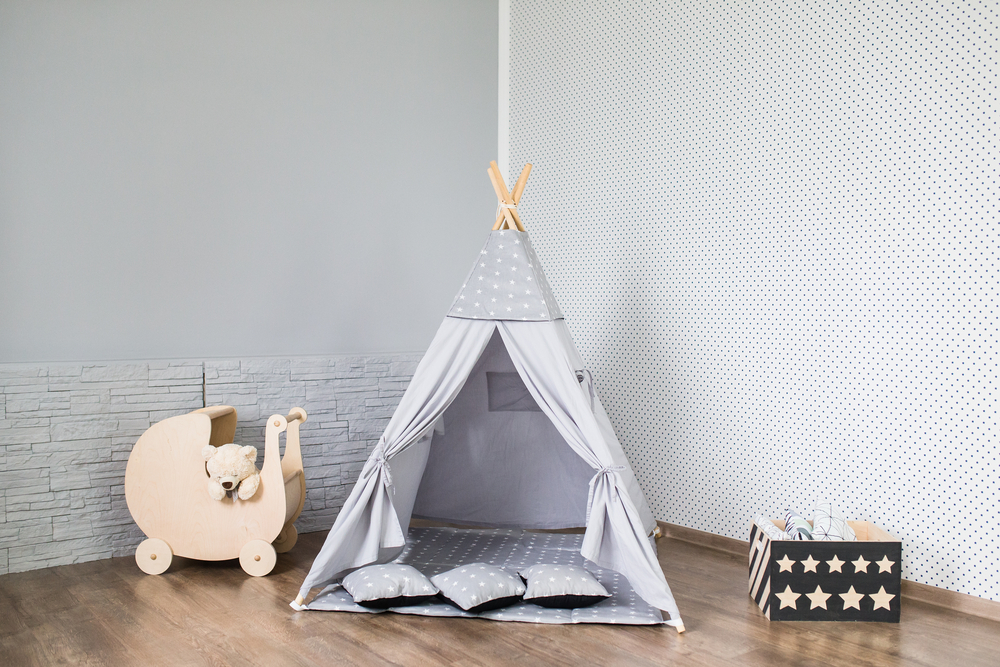
You can decorate your children’s teepee with strips of different pieces of fabric, tassels, decorative ribbons and bows. You can then add feathers, pompoms, fabric flowers, or anything else you like. Don’t be afraid to combine a bit of everything. Your child will love it and will enjoy playing with all the different bits and bobs.
If you’re feeling really brave, you can even create your own designs using fabric paint. Something your child will really love is seeing his or her name written on their teepee. Again, you could use fabric paint, and write their name using stencils. It’s really easy to do.
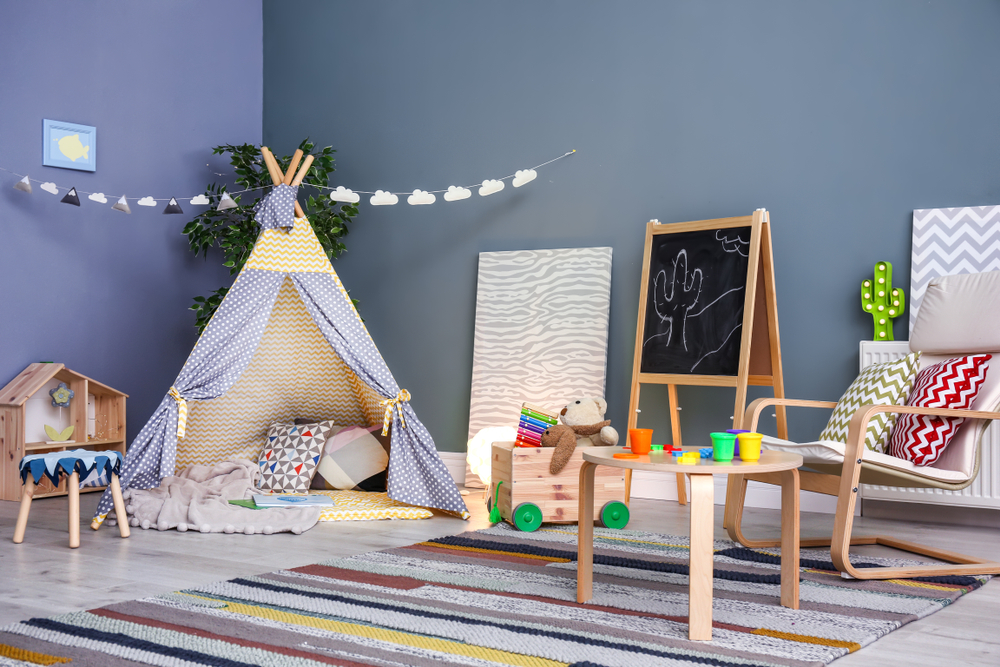
Place the teepee on top of a soft, thick rug to make it nice and comfy. Another really fun option is to place the teepee on artificial grass or colorful matting. You can then add cushions, and your child’s favorite books and toys.
Finally, add a lamp or lantern so that there’s plenty of light. Once you’ve got everything set up in your kid’s room, call them, and tell them to cover their eyes until they’re standing right in front of it. The look of surprise and delight on their face will make it all worth it.
A children’s teepee is a must-have these days. Whether in their bedroom, the garden or in the playroom, they make the ultimate den where your children can play, read, and relax. Making your own teepee is a really original idea that is guaranteed to awaken your child’s imagination.
Teepees are all the rage in the world of children’s decoration. They’ll make a beautiful addition to their bedroom that they’re sure to love. They’re also a great way to teach children about other cultures and customs. After all, teepees were originally by the native Americans.
You can find all different kinds of teepees in stores, but if you want to make one yourself, all you need is a bit of time, and a touch of style. In this article, we’ll show you three very simple ways to make a children’s teepee.
1. No-sew teepee
As the name suggests, this teepee doesn’t require any sewing. All you’ll need is a bit of skill, and a few materials: 6 dowels, a pair of scissors, rope, a glue gun, a drill, colored fabric, and any decorations you want to add.
1. First, make a hole at one end of each dowel so that you can thread the rope through and attach them all together. Make sure that the knot is tight enough that the dowels no longer move. This will form the top of your teepee.
2. Now that you have the base of your teepee, you can start to cover it in fabric. Start at the top, and cover it with wide strips of fabric. Attach them to the dowels using the glue gun, and cut off any excess fabric. Work your way down, repeating this step using wider and wider pieces of fabric until you have covered the entire structure.
3. Decide where you want the door to be, and cut out a section of fabric approximately 33″ high so your children can get in and out. Then, seal the edge of the fabric with glue to stop it from fraying. Finally, add any extra details and decorations you want, and there you have it! You’ve got a fantastic teepee.
2. Classic children’s teepee
Another way to make a teepee is to cut the fabric into triangular panels and sew them together. It’s actually really easy to do. Simply choose the fabric you like best. However, if you want to make things easier for yourself, avoid choosing geometric patterns so you don’t have to line them up when you sew it together.
1. First, cut your fabric into six triangles, approximately 53″ high, and 27″ wide at the base. One of the triangles will need to serve as a door, so cut a 33″ hole in one panel, and seal the edges with silicone. You’ll also need to cut six strips of fabric approximately 3″ wide, and 59″ long, which will serve as casings for your dowels.
2. Next, attach the six triangles together, placing one of the strips of fabric in between each one (ie. you should alternate between triangle and strip). Sew up the hems, and the sides of the teepee, being careful not to sew up the dowel casings.
3. As with the first teepee we looked at, prepare the dowels, making a hole in the top of each one so you can attach them together. Slide the dowels into the casings, then thread the rope through the holes. Carefully attach them together, and there you have it! Now all that’s left to do is decorate it.
3. Decorating your children’s teepee
You can decorate your children’s teepee with strips of different pieces of fabric, tassels, decorative ribbons and bows. You can then add feathers, pompoms, fabric flowers, or anything else you like. Don’t be afraid to combine a bit of everything. Your child will love it and will enjoy playing with all the different bits and bobs.
If you’re feeling really brave, you can even create your own designs using fabric paint. Something your child will really love is seeing his or her name written on their teepee. Again, you could use fabric paint, and write their name using stencils. It’s really easy to do.
Place the teepee on top of a soft, thick rug to make it nice and comfy. Another really fun option is to place the teepee on artificial grass or colorful matting. You can then add cushions, and your child’s favorite books and toys.
Finally, add a lamp or lantern so that there’s plenty of light. Once you’ve got everything set up in your kid’s room, call them, and tell them to cover their eyes until they’re standing right in front of it. The look of surprise and delight on their face will make it all worth it.


